Create successful ePaper yourself
Turn your PDF publications into a flip-book with our unique Google optimized e-Paper software.
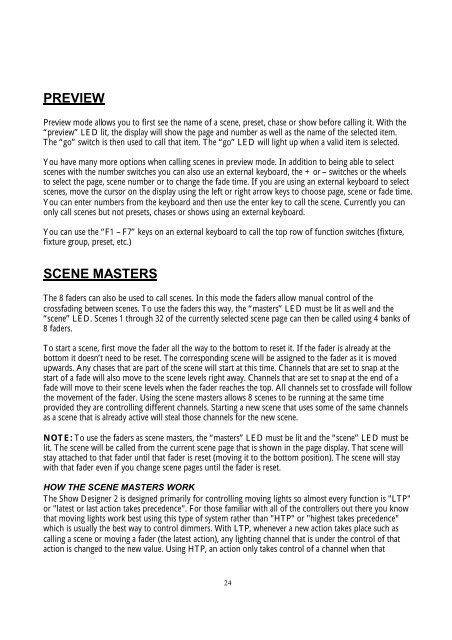
PREVIEWPreview mode allows you to first see the name of a scene, preset, chase or show before calling it. With the“preview” LED lit, the display will show the page and number as well as the name of the selected item.The “go” switch is then used to call that item. The “go” LED will light up when a valid item is selected.You have many more options when calling scenes in preview mode. In addition to being able to selectscenes with the number switches you can also use an external keyboard, the + or – switches or the wheelsto select the page, scene number or to change the fade time. If you are using an external keyboard to selectscenes, move the cursor on the display using the left or right arrow keys to choose page, scene or fade time.You can enter numbers from the keyboard and then use the enter key to call the scene. Currently you canonly call scenes but not presets, chases or shows using an external keyboard.You can use the “F1 – F7” keys on an external keyboard to call the top row of function switches (fixture,fixture group, preset, etc.)SCENE MASTERSThe 8 faders can also be used to call scenes. In this mode the faders allow manual control of thecrossfading between scenes. To use the faders this way, the “masters” LED must be lit as well and the“scene” LED. Scenes 1 through 32 of the currently selected scene page can then be called using 4 banks of8 faders.To start a scene, first move the fader all the way to the bottom to reset it. If the fader is already at thebottom it doesn’t need to be reset. The corresponding scene will be assigned to the fader as it is movedupwards. Any chases that are part of the scene will start at this time. Channels that are set to snap at thestart of a fade will also move to the scene levels right away. Channels that are set to snap at the end of afade will move to their scene levels when the fader reaches the top. All channels set to crossfade will followthe movement of the fader. Using the scene masters allows 8 scenes to be running at the same timeprovided they are controlling different channels. Starting a new scene that uses some of the same channelsas a scene that is already active will steal those channels for the new scene.NOTE: To use the faders as scene masters, the “masters” LED must be lit and the “scene” LED must belit. The scene will be called from the current scene page that is shown in the page display. That scene willstay attached to that fader until that fader is reset (moving it to the bottom position). The scene will staywith that fader even if you change scene pages until the fader is reset.HOW THE SCENE MASTERS WORKThe <strong>Show</strong> <strong>Designer</strong> 2 is designed primarily for controlling moving lights so almost every function is "LTP"or "latest or last action takes precedence". For those familiar with all of the controllers out there you knowthat moving lights work best using this type of system rather than "HTP" or "highest takes precedence"which is usually the best way to control dimmers. With LTP, whenever a new action takes place such ascalling a scene or moving a fader (the latest action), any lighting channel that is under the control of thataction is changed to the new value. Using HTP, an action only takes control of a channel when that24


