

Introducing
IntroducingWindowsServer2016_ebook
IntroducingWindowsServer2016_ebook

You also want an ePaper? Increase the reach of your titles
YUMPU automatically turns print PDFs into web optimized ePapers that Google loves.
Figure 2-40: Pausing cluster node<br />
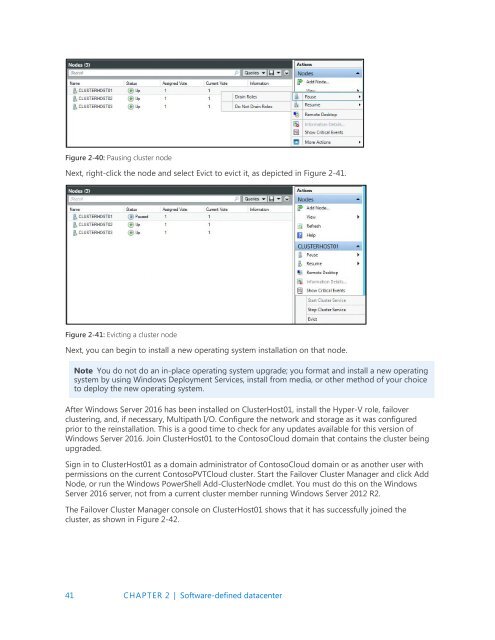
Next, right-click the node and select Evict to evict it, as depicted in Figure 2-41.<br />
Figure 2-41: Evicting a cluster node<br />
Next, you can begin to install a new operating system installation on that node.<br />
Note You do not do an in-place operating system upgrade; you format and install a new operating<br />
system by using Windows Deployment Services, install from media, or other method of your choice<br />
to deploy the new operating system.<br />
After Windows Server 2016 has been installed on ClusterHost01, install the Hyper-V role, failover<br />
clustering, and, if necessary, Multipath I/O. Configure the network and storage as it was configured<br />
prior to the reinstallation. This is a good time to check for any updates available for this version of<br />
Windows Server 2016. Join ClusterHost01 to the ContosoCloud domain that contains the cluster being<br />
upgraded.<br />
Sign in to ClusterHost01 as a domain administrator of ContosoCloud domain or as another user with<br />
permissions on the current ContosoPVTCloud cluster. Start the Failover Cluster Manager and click Add<br />
Node, or run the Windows PowerShell Add-ClusterNode cmdlet. You must do this on the Windows<br />
Server 2016 server, not from a current cluster member running Windows Server 2012 R2.<br />
The Failover Cluster Manager console on ClusterHost01 shows that it has successfully joined the<br />
cluster, as shown in Figure 2-42.<br />
41 CHAPTER 2 | Software-defined datacenter