Printer DA70S, DA75S Operator Guide - Pitney Bowes Canada
Printer DA70S, DA75S Operator Guide - Pitney Bowes Canada
Printer DA70S, DA75S Operator Guide - Pitney Bowes Canada
You also want an ePaper? Increase the reach of your titles
YUMPU automatically turns print PDFs into web optimized ePapers that Google loves.
<strong>Printer</strong> Driver Software<br />
SV61665 Rev. D<br />
<strong>Printer</strong> Basics • 2<br />
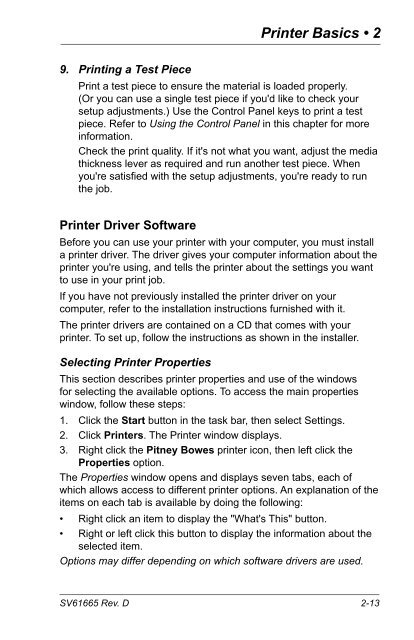
9. Printing a Test Piece<br />
Print a test piece to ensure the material is loaded properly.<br />
(Or you can use a single test piece if you'd like to check your<br />
setup adjustments.) Use the Control Panel keys to print a test<br />
piece. Refer to Using the Control Panel in this chapter for more<br />
information.<br />
Check the print quality. If it's not what you want, adjust the media<br />
thickness lever as required and run another test piece. When<br />
you're satisfied with the setup adjustments, you're ready to run<br />
the job.<br />
Before you can use your printer with your computer, you must install<br />
a printer driver. The driver gives your computer information about the<br />
printer you're using, and tells the printer about the settings you want<br />
to use in your print job.<br />
If you have not previously installed the printer driver on your<br />
computer, refer to the installation instructions furnished with it.<br />
The printer drivers are contained on a CD that comes with your<br />
printer. To set up, follow the instructions as shown in the installer.<br />
Selecting <strong>Printer</strong> Properties<br />
This section describes printer properties and use of the windows<br />
for selecting the available options. To access the main properties<br />
window, follow these steps:<br />
1. Click the Start button in the task bar, then select Settings.<br />
2. Click <strong>Printer</strong>s. The <strong>Printer</strong> window displays.<br />
3. Right click the <strong>Pitney</strong> <strong>Bowes</strong> printer icon, then left click the<br />
Properties option.<br />
The Properties window opens and displays seven tabs, each of<br />
which allows access to different printer options. An explanation of the<br />
items on each tab is available by doing the following:<br />
• Right click an item to display the "What's This" button.<br />
• Right or left click this button to display the information about the<br />
selected item.<br />
Options may differ depending on which software drivers are used.<br />
2-13


