Unified Access Point (AP) Administrator's Guide
Unified Access Point (AP) Administrator's Guide
Unified Access Point (AP) Administrator's Guide

Create successful ePaper yourself
Turn your PDF publications into a flip-book with our unique Google optimized e-Paper software.
3 Installing the <strong>Access</strong> <strong>Point</strong><br />
2. Connect the power adapter to the power port on the back of the access point, and then plug<br />
the other end of the power cord into a power outlet.<br />
3. Use your Web browser to log on to the access point Administration Web pages.<br />
If the <strong>AP</strong> did not acquire an IP address from a DHCP server on your network, enter<br />
10.90.90.91 in the address field of your browser, which is the default IP address of the <strong>AP</strong>.<br />
If you used a DHCP server on your network to automatically configure network<br />
information for the <strong>AP</strong>, enter the new IP address of the <strong>AP</strong> into the Web browser.<br />
If you used a DHCP server and you do not know the new IP address of the <strong>AP</strong>, use the<br />
following procedures to obtain the information:<br />
A. Connect a serial cable from the administrative computer to the <strong>AP</strong> and use a terminal<br />
emulation program to access the command-line interface (CLI).<br />
B. At the login prompt, enter admin for the user name and admin for the password. At the<br />
command prompt, enter:<br />
get management<br />
The command output displays the IP address of the <strong>AP</strong>. Enter this address in the<br />
address field of your browser.<br />
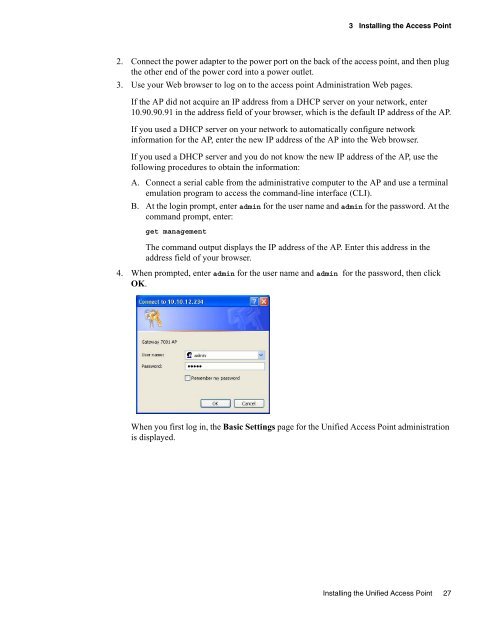
4. When prompted, enter admin for the user name and admin for the password, then click<br />
OK.<br />
When you first log in, the Basic Settings page for the <strong>Unified</strong> <strong>Access</strong> <strong>Point</strong> administration<br />
is displayed.<br />
Installing the <strong>Unified</strong> <strong>Access</strong> <strong>Point</strong> 27