Therma-Tru Slim-Line Sliding Patio Door Assembly and Installation
Therma-Tru Slim-Line Sliding Patio Door Assembly and Installation
Therma-Tru Slim-Line Sliding Patio Door Assembly and Installation

You also want an ePaper? Increase the reach of your titles
YUMPU automatically turns print PDFs into web optimized ePapers that Google loves.
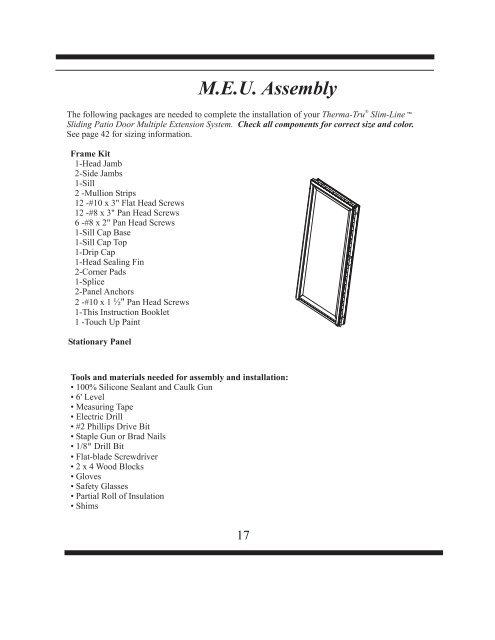
Frame Kit<br />
1-Head Jamb<br />
2-Side Jambs<br />
1-Sill<br />
2 -Mullion Strips<br />
12 -#10 x 3" Flat Head Screws<br />
12 -#8 x 3" Pan Head Screws<br />
6 -#8 x 2" Pan Head Screws<br />
1-Sill Cap Base<br />
1-Sill Cap Top<br />
1-Drip Cap<br />
1-Head Sealing Fin<br />
2-Corner Pads<br />
1-Splice<br />
2-Panel Anchors<br />
2 -#10 x 1 ½" Pan Head Screws<br />
1-This Instruction Booklet<br />
1 -Touch Up Paint<br />
Stationary Panel<br />
M.E.U. <strong>Assembly</strong><br />
®<br />
The following packages are needed to complete the installation of your <strong>Therma</strong>-<strong>Tru</strong> <strong>Slim</strong>-<strong>Line</strong> <br />
<strong>Sliding</strong> <strong>Patio</strong> <strong>Door</strong> Multiple Extension System. Check all components for correct size <strong>and</strong> color.<br />
See page 42 for sizing information.<br />
Tools <strong>and</strong> materials needed for assembly <strong>and</strong> installation:<br />
100% Silicone Sealant <strong>and</strong> Caulk Gun<br />
6' Level<br />
Measuring Tape<br />
Electric Drill<br />
#2 Phillips Drive Bit<br />
Staple Gun or Brad Nails<br />
1/8“ Drill Bit<br />
Flat-blade Screwdriver<br />
2x4WoodBlocks<br />
Gloves<br />
Safety Glasses<br />
Partial Roll of Insulation<br />
Shims<br />
17