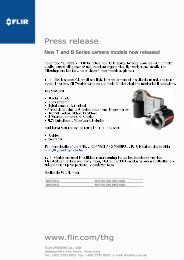
Download - Flir Systems
Download - Flir Systems
Download - Flir Systems

You also want an ePaper? Increase the reach of your titles
YUMPU automatically turns print PDFs into web optimized ePapers that Google loves.
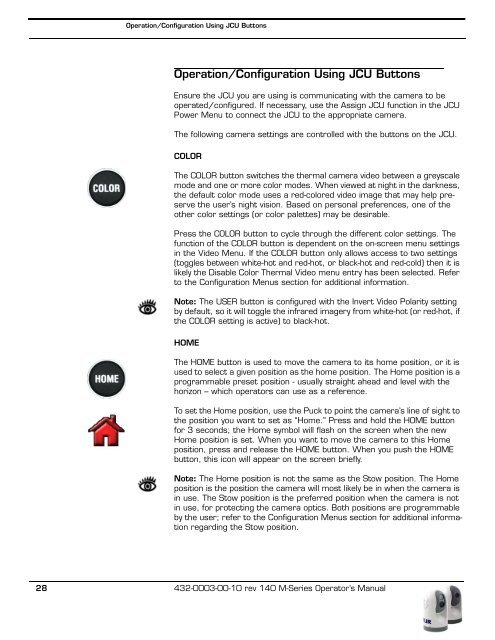
Operation/Configuration Using JCU Buttons<br />
Operation/Configuration Using JCU Buttons<br />
Ensure the JCU you are using is communicating with the camera to be<br />
operated/configured. If necessary, use the Assign JCU function in the JCU<br />
Power Menu to connect the JCU to the appropriate camera.<br />
The following camera settings are controlled with the buttons on the JCU.<br />
COLOR<br />
The COLOR button switches the thermal camera video between a greyscale<br />
mode and one or more color modes. When viewed at night in the darkness,<br />
the default color mode uses a red-colored video image that may help preserve<br />
the user’s night vision. Based on personal preferences, one of the<br />
other color settings (or color palettes) may be desirable.<br />
Press the COLOR button to cycle through the different color settings. The<br />
function of the COLOR button is dependent on the on-screen menu settings<br />
in the Video Menu. If the COLOR button only allows access to two settings<br />
(toggles between white-hot and red-hot, or black-hot and red-cold) then it is<br />
likely the Disable Color Thermal Video menu entry has been selected. Refer<br />
to the Configuration Menus section for additional information.<br />
Note: The USER button is configured with the Invert Video Polarity setting<br />
by default, so it will toggle the infrared imagery from white-hot (or red-hot, if<br />
the COLOR setting is active) to black-hot.<br />
HOME<br />
The HOME button is used to move the camera to its home position, or it is<br />
used to select a given position as the home position. The Home position is a<br />
programmable preset position - usually straight ahead and level with the<br />
horizon – which operators can use as a reference.<br />
To set the Home position, use the Puck to point the camera’s line of sight to<br />
the position you want to set as “Home.” Press and hold the HOME button<br />
for 3 seconds; the Home symbol will flash on the screen when the new<br />
Home position is set. When you want to move the camera to this Home<br />
position, press and release the HOME button. When you push the HOME<br />
button, this icon will appear on the screen briefly.<br />
Note: The Home position is not the same as the Stow position. The Home<br />
position is the position the camera will most likely be in when the camera is<br />
in use. The Stow position is the preferred position when the camera is not<br />
in use, for protecting the camera optics. Both positions are programmable<br />
by the user; refer to the Configuration Menus section for additional information<br />
regarding the Stow position.<br />
28 432-0003-00-10 rev 140 M-Series Operator’s Manual