Paper_Clip_Tutorial Part1.pdf - GaBi Software
Paper_Clip_Tutorial Part1.pdf - GaBi Software
Paper_Clip_Tutorial Part1.pdf - GaBi Software

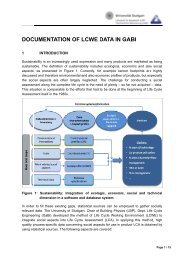
Create successful ePaper yourself
Turn your PDF publications into a flip-book with our unique Google optimized e-Paper software.
Procedure<br />
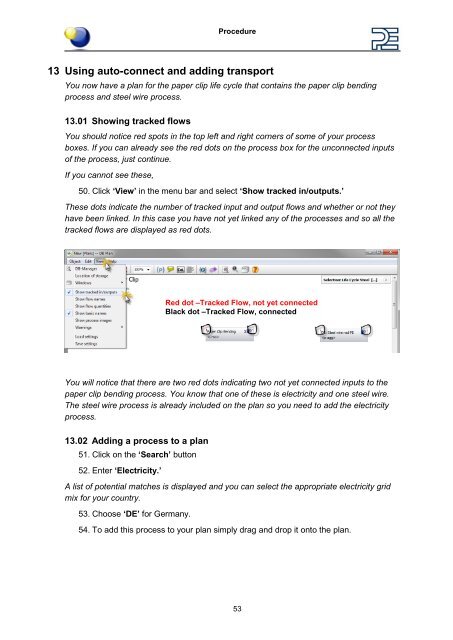
13 Using auto-connect and adding transport<br />
You now have a plan for the paper clip life cycle that contains the paper clip bending<br />
process and steel wire process.<br />
13.01 Showing tracked flows<br />
You should notice red spots in the top left and right corners of some of your process<br />
boxes. If you can already see the red dots on the process box for the unconnected inputs<br />
of the process, just continue.<br />
If you cannot see these,<br />
50. Click ‘View’ in the menu bar and select ‘Show tracked in/outputs.’<br />
These dots indicate the number of tracked input and output flows and whether or not they<br />
have been linked. In this case you have not yet linked any of the processes and so all the<br />
tracked flows are displayed as red dots.<br />
You will notice that there are two red dots indicating two not yet connected inputs to the<br />
paper clip bending process. You know that one of these is electricity and one steel wire.<br />
The steel wire process is already included on the plan so you need to add the electricity<br />
process.<br />
13.02 Adding a process to a plan<br />
51. Click on the ‘Search’ button<br />
52. Enter ‘Electricity.’<br />
A list of potential matches is displayed and you can select the appropriate electricity grid<br />
mix for your country.<br />
53. Choose ‘DE’ for Germany.<br />
Red dot –Tracked Flow, not yet connected<br />
Black dot –Tracked Flow, connected<br />
54. To add this process to your plan simply drag and drop it onto the plan.<br />
53