

Owners Manual (GR-55_OM.pdf) - Roland
Owners Manual (GR-55_OM.pdf) - Roland
Owners Manual (GR-55_OM.pdf) - Roland

Create successful ePaper yourself
Turn your PDF publications into a flip-book with our unique Google optimized e-Paper software.
Settings for the Entire <strong>GR</strong>-<strong>55</strong> (SYSTEM)<br />
7. Press the [EXIT] button to return to the top screen.<br />
The GK set you selected will be enabled.<br />
* If the MASTER parameter GK SET (p. 58) is set to “SYSTEM,” the setting<br />
you specified for the SYSTEM parameter “GK SET SELECT” (p. 74) will<br />
take priority.<br />
Switching GK Sets<br />
Select a GK set (1–10) as described in steps 1–5 of “Setting the GK<br />
Pickups (GK SETTING)” (p. 69).<br />
* If the MASTER parameter GK SET (p. 58) is set to “SYSTEM,” the GK<br />
setting that’s selected in this screen will take priority. You can also<br />
select “1–10” to specify a GK set for each patch.<br />
Renaming a GK Set<br />
You can assign a name to each GK set.<br />
By naming each GK set to identify the guitar that it’s for, you can avoid<br />
selecting the wrong GK set when switching guitars.<br />
1. Select a GK set (1–10) as described in steps 1–5 of “Setting<br />
the GK Pickups (GK SETTING)” (p. 69).<br />
2. Press the [ENTER] button.<br />
3. Use the cursor [ ] [ ] buttons to move the cursor to the<br />
character that you want to change.<br />
4. Use the dial and the following buttons to change the<br />
character.<br />
As you continue turning the dial, the type of character will change in<br />
the order of uppercase → lowercase → numerals → symbols.<br />
Button<br />
Description<br />
Cursor [ ] (INSERT) Inserts a space at the cursor location.<br />
Cursor [<br />
PAGE [<br />
PAGE [<br />
] (DELETE)<br />
] (A0!)<br />
] (Aa)<br />
Deletes the character, and moves<br />
subsequent characters forward.<br />
Switches between letters, numerals, and<br />
symbols.<br />
Switches between uppercase and<br />
lowercase letters.<br />
5. Repeat steps 3 and 4 to rename the GK set.<br />
You can specify up to eight characters.<br />
6. Press the [ENTER] button.<br />
The name will be finalized.<br />
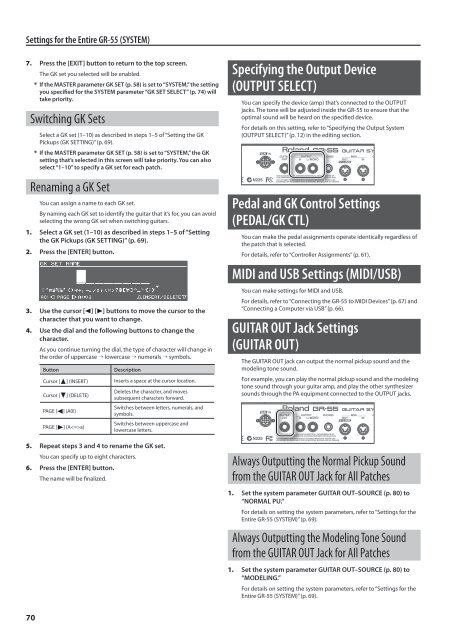
Specifying the Output Device<br />
(OUTPUT SELECT)<br />
You can specify the device (amp) that’s connected to the OUTPUT<br />
jacks. The tone will be adjusted inside the <strong>GR</strong>-<strong>55</strong> to ensure that the<br />
optimal sound will be heard on the specified device.<br />
For details on this setting, refer to “Specifying the Output System<br />
(OUTPUT SELECT)” (p. 12) in the editing section.<br />
Pedal and GK Control Settings<br />
(PEDAL/GK CTL)<br />
You can make the pedal assignments operate identically regardless of<br />
the patch that is selected.<br />
For details, refer to “Controller Assignments” (p. 61).<br />
MIDI and USB Settings (MIDI/USB)<br />
You can make settings for MIDI and USB.<br />
For details, refer to “Connecting the <strong>GR</strong>-<strong>55</strong> to MIDI Devices” (p. 67) and<br />
“Connecting a Computer via USB” (p. 66).<br />
GUITAR OUT Jack Settings<br />
(GUITAR OUT)<br />
The GUITAR OUT jack can output the normal pickup sound and the<br />
modeling tone sound.<br />
For example, you can play the normal pickup sound and the modeling<br />
tone sound through your guitar amp, and play the other synthesizer<br />
sounds through the PA equipment connected to the OUTPUT jacks.<br />
Always Outputting the Normal Pickup Sound<br />
from the GUITAR OUT Jack for All Patches<br />
1. Set the system parameter GUITAR OUT–SOURCE (p. 80) to<br />
“NORMAL PU.”<br />
For details on setting the system parameters, refer to “Settings for the<br />
Entire <strong>GR</strong>-<strong>55</strong> (SYSTEM)” (p. 69).<br />
Always Outputting the Modeling Tone Sound<br />
from the GUITAR OUT Jack for All Patches<br />
1. Set the system parameter GUITAR OUT–SOURCE (p. 80) to<br />
“MODELING.”<br />
For details on setting the system parameters, refer to “Settings for the<br />
Entire <strong>GR</strong>-<strong>55</strong> (SYSTEM)” (p. 69).<br />
70


