User Guide DS-100 Product(range) - Neopost
User Guide DS-100 Product(range) - Neopost
User Guide DS-100 Product(range) - Neopost

You also want an ePaper? Increase the reach of your titles
YUMPU automatically turns print PDFs into web optimized ePapers that Google loves.
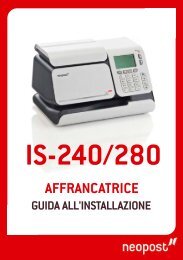
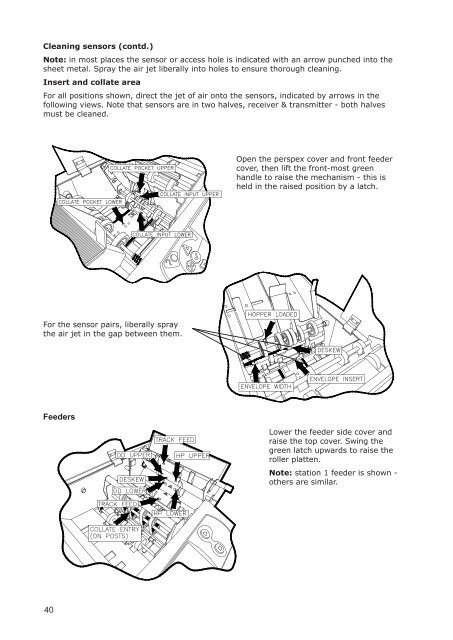
Cleaning sensors (contd.)<br />
Note: in most places the sensor or access hole is indicated with an arrow punched into the<br />
sheet metal. Spray the air jet liberally into holes to ensure thorough cleaning.<br />
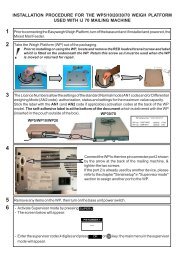
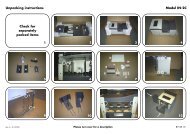
Insert and collate area<br />
For all positions shown, direct the jet of air onto the sensors, indicated by arrows in the<br />
following views. Note that sensors are in two halves, receiver & transmitter - both halves<br />
must be cleaned.<br />
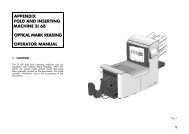
Open the perspex cover and front feeder<br />
cover, then lift the front-most green<br />
handle to raise the mechanism - this is<br />
held in the raised position by a latch.<br />
For the sensor pairs, liberally spray<br />
the air jet in the gap between them.<br />
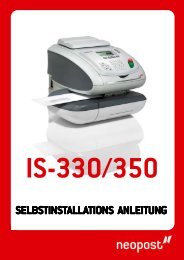
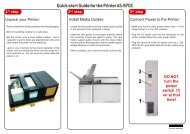
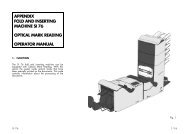
Feeders<br />
Lower the feeder side cover and<br />
raise the top cover. Swing the<br />
green latch upwards to raise the<br />
roller platten.<br />
Note: station 1 feeder is shown -<br />
others are similar.<br />
40