

Dinamap Pro Series Operation Manual - Ardus Medical, Inc.
Dinamap Pro Series Operation Manual - Ardus Medical, Inc.
Dinamap Pro Series Operation Manual - Ardus Medical, Inc.
- No tags were found...

Create successful ePaper yourself
Turn your PDF publications into a flip-book with our unique Google optimized e-Paper software.
selected buttons appears light on a dark background.<br />
Note: Some menus have six option buttons. In these cases, there<br />
is no space available to display the menu title.<br />
Area 2<br />
This area displays<br />
• Source 1:<br />
. Source 2: Last three BP readings<br />
data from one of three different sources.<br />
SpO, plethysmograph (Models 300 and 400)<br />
. Source 3: Error and warning messages<br />
Note: Refer to “Display Button” in the “Using the Menu<br />
System” section for instructions on setting Area 2.<br />
Area 3<br />
This area displays the time, the time lapsed since the last Auto<br />
BP determination (if in Auto BP mode), the battery icon (if<br />
operating on battery power, the time and battery icon toggle),<br />
and the BP and Printer modes.<br />
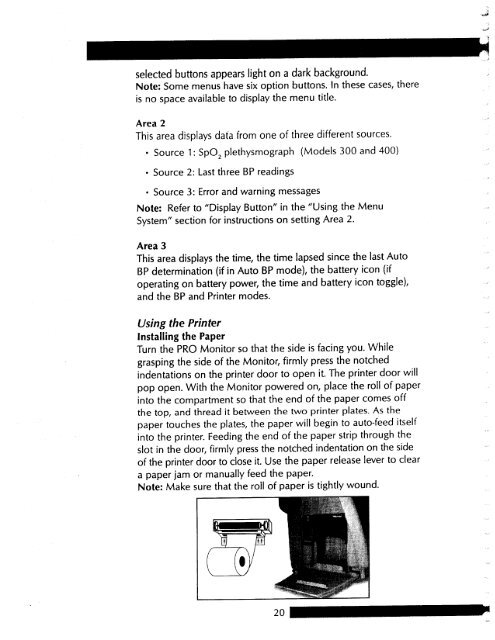
Using the Printer<br />
Installing the Paper<br />
Turn the PRO Monitor so that the side is facing you. While<br />
grasping the side of the Monitor, firmly press the notched<br />
indentations on the printer door to open it. The printer door will<br />
pop open. With the Monitor powered on, place the roll of paper<br />
into the compartment so that the end of the paper comes off<br />
the top, and thread it between the two printer plates. As the<br />
paper touches the plates, the paper will begin to auto-feed itself<br />
into the printer. Feeding the end of the paper strip through the<br />
slot in the door, firmly press the notched indentation on the side<br />
of the printer door to close it. Use the paper release lever to clear<br />
a paper jam or manually feed the paper.<br />
Note: Make sure that the roll of paper is tightly wound.<br />
_


