

QSDT4PCRC and QSDT8PCRS_web.pdf - Q-See
QSDT4PCRC and QSDT8PCRS_web.pdf - Q-See
QSDT4PCRC and QSDT8PCRS_web.pdf - Q-See

You also want an ePaper? Increase the reach of your titles
YUMPU automatically turns print PDFs into web optimized ePapers that Google loves.
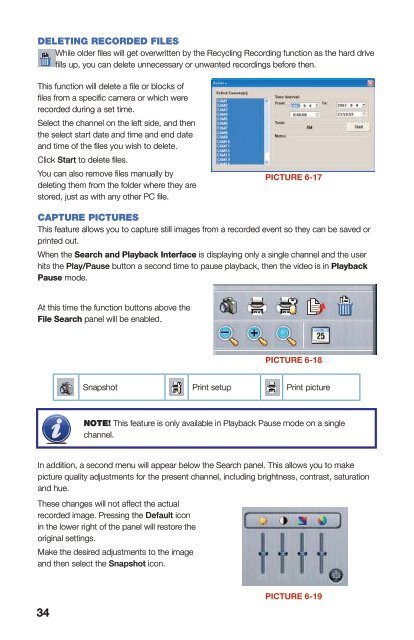
DELETING RECORDED FILESWhile older files will get overwritten by the Recycling Recording function as the hard drivefills up, you can delete unnecessary or unwanted recordings before then.Pressing the Snapshot button will bring up the Snap window.Number of Framesto be CapturedSnapshotShowTitleShowTimeSelectSave PathThis function will delete a file or blocks offiles from a specific camera or which wererecorded during a set time.Select the channel on the left side, <strong>and</strong> thenthe select start date <strong>and</strong> time <strong>and</strong> end date<strong>and</strong> time of the files you wish to delete.Click Start to delete files.You can also remove files manually bydeleting them from the folder where they arestored, just as with any other PC file.PICTURE 6-17CAPTURE PICTURESThis feature allows you to capture still images from a recorded event so they can be saved orprinted out.When the Search <strong>and</strong> Playback Interface is displaying only a single channel <strong>and</strong> the userhits the Play/Pause button a second time to pause playback, then the video is in PlaybackPause mode.At this time the function buttons above theFile Search panel will be enabled.PICTURE 6-18Snapshot Print setup Print pictureNOTE! This feature is only available in Playback Pause mode on a singlechannel.In addition, a second menu will appear below the Search panel. This allows you to makepicture quality adjustments for the present channel, including brightness, contrast, saturation<strong>and</strong> hue.These changes will not affect the actualrecorded image. Pressing the Default iconin the lower right of the panel will restore theoriginal settings.Make the desired adjustments to the image<strong>and</strong> then select the Snapshot icon.PICTURE 6-20Select the number of sequential images you wish to capture <strong>and</strong> set the save path. The savepath can also be set in the Basic Configuration menu in the Capture Browse setting. Youcan also chose to include which camera took the video <strong>and</strong>/or the date <strong>and</strong> time that it wasrecorded within the image itself.Once you have made your selections, pressing the Snap button will save the images. PressSave to preserve your settings for future use or Exit, if you do not wish to retain the settings.The Print Setup button will bring up aconventional Print Setup window to allow youto make settings as normal.Clicking the Print button will open a PrintPreview dialog that includes some extrafeatures.Select the Position radio button <strong>and</strong> adjustthe position of the image on the page usingthe + <strong>and</strong> - buttons.Selecting the Size radio button will allow youto adjust the image size using those same +<strong>and</strong> - buttons.PICTURE 6-21CHAPTER 6 RECORDING, PLAYBACK AND RECORD SEARCHPICTURE 6-1934 35


