QSDT4PCRC and QSDT8PCRS_web.pdf - Q-See
QSDT4PCRC and QSDT8PCRS_web.pdf - Q-See
QSDT4PCRC and QSDT8PCRS_web.pdf - Q-See
Create successful ePaper yourself
Turn your PDF publications into a flip-book with our unique Google optimized e-Paper software.
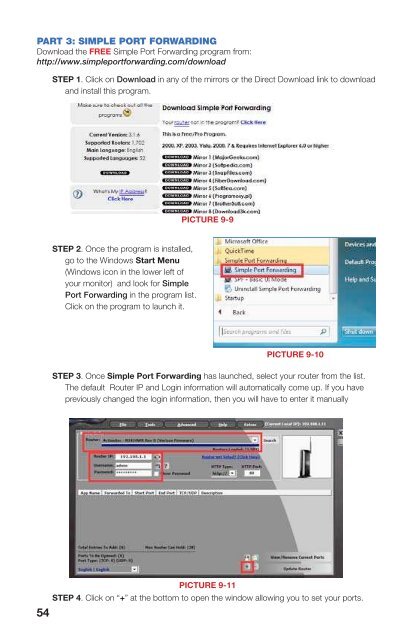
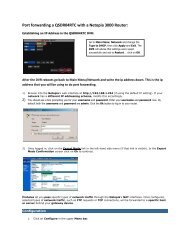
PART 3: SIMPLE PORT FORWARDINGDownload the FREE Simple Port Forwarding program from:http://www.simpleportforwarding.com/downloadSTEP 5. Click on ADD CUSTOM.STEP 1. Click on Download in any of the mirrors or the Direct Download link to download<strong>and</strong> install this program.PICTURE 9-9STEP 2. Once the program is installed,go to the Windows Start Menu(Windows icon in the lower left ofyour monitor) <strong>and</strong> look for SimplePort Forwarding in the program list.Click on the program to launch it.STEP 6. Input the required information:PICTURE 9-12PICTURE 9-10STEP 3. Once Simple Port Forwarding has launched, select your router from the list.The default Router IP <strong>and</strong> Login information will automatically come up. If you havepreviously changed the login information, then you will have to enter it manuallyName: (You can name your DVR if youwish)Type: TCPStart Port: 80End Port:80IP add: IP of DVR obtained inPart 1.Click on ADDRepeat for port 1159 <strong>and</strong> 1160.PICTURE 9-13CHAPTER 9 REMOTE SURVEILLANCE & PLAYBACKPICTURE 9-11STEP 4. Click on “+” at the bottom to open the window allowing you to set your ports.54 55


