The Art of projection and complete magic lantern ... - Yesterday Image
The Art of projection and complete magic lantern ... - Yesterday Image
The Art of projection and complete magic lantern ... - Yesterday Image
- No tags were found...

Create successful ePaper yourself
Turn your PDF publications into a flip-book with our unique Google optimized e-Paper software.
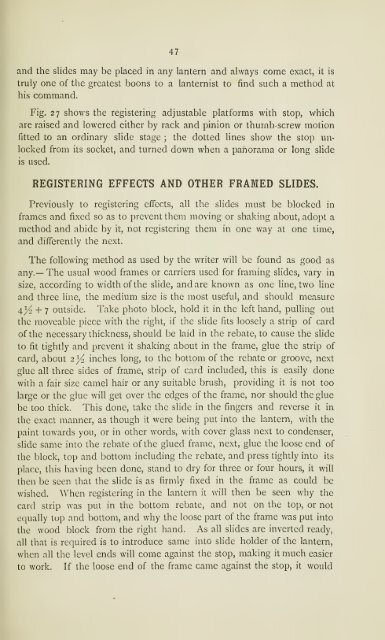
47<strong>and</strong> the slides may be placed in any <strong>lantern</strong> <strong>and</strong> always come exact, it istruly one <strong>of</strong> the greatest boons to a <strong>lantern</strong>ist to find such a method athis comm<strong>and</strong>.Fig. 27 shows the registering adjustable platforms with stop, whichare raised <strong>and</strong> lowered either by rack <strong>and</strong> pinion or thumbscrew motionfitted to an ordinary slide stage ; the dotted lines show the stop unlockedfrom its socket, <strong>and</strong> turned down when a panorama or long slideis used.REGISTERING EFFECTS AND OTHER FRAMED SLIDES.Previously to registering effects, all the slides must be blocked inframes <strong>and</strong> fixed so as to prevent them moving or shaking about, adopt amethod <strong>and</strong> abide by it, not registering them in one way at one time,<strong>and</strong> differently the next.<strong>The</strong> following method as used by the writer will be found as good asany.— <strong>The</strong> usual wood frames or carriers used for framing slides, vary insize, according to width <strong>of</strong> the slide, <strong>and</strong> are known as one line, two line<strong>and</strong> three line, the medium size is the most useful, <strong>and</strong> should measure4^ + 7 outside. Take photo block, hold it in the left h<strong>and</strong>, pulling outthe moveable piece with the right, if the slide fits loosely a strip <strong>of</strong> card<strong>of</strong> the necessary thickness, should be laid in the rebate, to cause the shdeto fit tightly <strong>and</strong> prevent it shaking about in the frame, glue the strip <strong>of</strong>card, about 2 ^ inches long, to the bottom <strong>of</strong> the rebate or groove, nextglue all three sides <strong>of</strong> frame, strip <strong>of</strong> card included, this is easily donewith a fair size camel hair or any suitable brush, providing it is not toolarge or the glue will get over the edges <strong>of</strong> the frame, nor should the gluebe too thick. This done, take the slide in the fingers <strong>and</strong> reverse it inthe exact manner, as though it were being put into the <strong>lantern</strong>, with thepaint towards you, or in other words, with cover glass next to condenser,slide same into the rebate <strong>of</strong> the glued frame, next, glue the loose end <strong>of</strong>the block, top <strong>and</strong> bottom including the rebate, <strong>and</strong> press tightly intoplace, this having been done, st<strong>and</strong> to dry for three or four hours, itthen be seen that the slide is as firmly fixed in the frame as could bewished. When registering in the <strong>lantern</strong> it will then be seen why thecard strip was put in the bottom rebate, <strong>and</strong> not on the top, or notequally top <strong>and</strong> bottom, <strong>and</strong> why the loose part <strong>of</strong> the frame was put intothe wood block from the right h<strong>and</strong>. As all slides are inverted ready,all that is required is to introduce same into slide holder <strong>of</strong> the <strong>lantern</strong>,when all the level ends will come against the stop, making it much easierto work. If the loose end <strong>of</strong> the frame came against the stop, it woulditswill