1 TMA Quick Start Guide - OneAccess extranet
1 TMA Quick Start Guide - OneAccess extranet
1 TMA Quick Start Guide - OneAccess extranet

You also want an ePaper? Increase the reach of your titles
YUMPU automatically turns print PDFs into web optimized ePapers that Google loves.
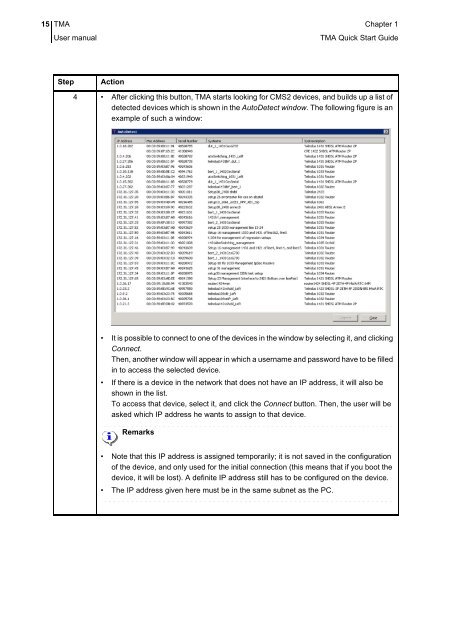
15 <strong>TMA</strong> Chapter 1User manual<strong>TMA</strong> <strong>Quick</strong> <strong>Start</strong> <strong>Guide</strong>StepAction4 • After clicking this button, <strong>TMA</strong> starts looking for CMS2 devices, and builds up a list ofdetected devices which is shown in the AutoDetect window. The following figure is anexample of such a window:• It is possible to connect to one of the devices in the window by selecting it, and clickingConnect.Then, another window will appear in which a username and password have to be filledin to access the selected device.• If there is a device in the network that does not have an IP address, it will also beshown in the list.To access that device, select it, and click the Connect button. Then, the user will beasked which IP address he wants to assign to that device.Remarks• Note that this IP address is assigned temporarily; it is not saved in the configurationof the device, and only used for the initial connection (this means that if you boot thedevice, it will be lost). A definite IP address still has to be configured on the device.• The IP address given here must be in the same subnet as the PC.