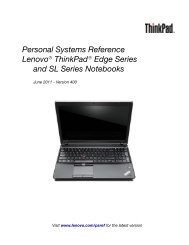
HP ProBook 4320s Notebook PC HP ProBook 4321s ... - Warranty Life
HP ProBook 4320s Notebook PC HP ProBook 4321s ... - Warranty Life
HP ProBook 4320s Notebook PC HP ProBook 4321s ... - Warranty Life

Create successful ePaper yourself
Turn your PDF publications into a flip-book with our unique Google optimized e-Paper software.
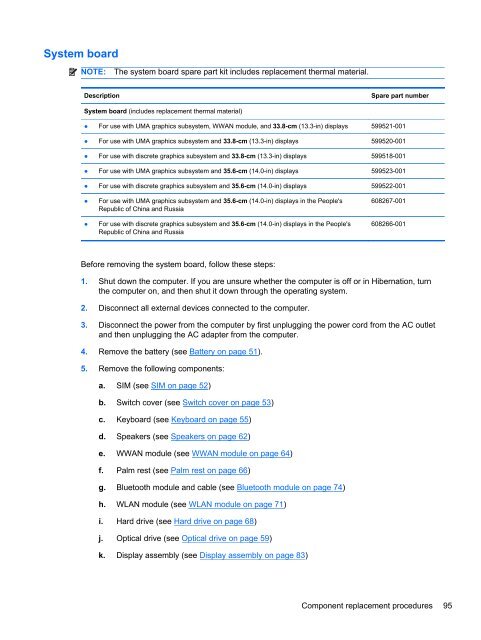
System boardNOTE:The system board spare part kit includes replacement thermal material.DescriptionSpare part numberSystem board (includes replacement thermal material)● For use with UMA graphics subsystem, WWAN module, and 33.8-cm (13.3-in) displays 599521-001● For use with UMA graphics subsystem and 33.8-cm (13.3-in) displays 599520-001● For use with discrete graphics subsystem and 33.8-cm (13.3-in) displays 599518-001● For use with UMA graphics subsystem and 35.6-cm (14.0-in) displays 599523-001● For use with discrete graphics subsystem and 35.6-cm (14.0-in) displays 599522-001●●For use with UMA graphics subsystem and 35.6-cm (14.0-in) displays in the People'sRepublic of China and RussiaFor use with discrete graphics subsystem and 35.6-cm (14.0-in) displays in the People'sRepublic of China and Russia608267-001608266-001Before removing the system board, follow these steps:1. Shut down the computer. If you are unsure whether the computer is off or in Hibernation, turnthe computer on, and then shut it down through the operating system.2. Disconnect all external devices connected to the computer.3. Disconnect the power from the computer by first unplugging the power cord from the AC outletand then unplugging the AC adapter from the computer.4. Remove the battery (see Battery on page 51).5. Remove the following components:a. SIM (see SIM on page 52)b. Switch cover (see Switch cover on page 53)c. Keyboard (see Keyboard on page 55)d. Speakers (see Speakers on page 62)e. WWAN module (see WWAN module on page 64)f. Palm rest (see Palm rest on page 66)g. Bluetooth module and cable (see Bluetooth module on page 74)h. WLAN module (see WLAN module on page 71)i. Hard drive (see Hard drive on page 68)j. Optical drive (see Optical drive on page 59)k. Display assembly (see Display assembly on page 83)Component replacement procedures 95