Grundoram Manual (PDF 1.7MB) - TT Technologies Inc.
Grundoram Manual (PDF 1.7MB) - TT Technologies Inc.
Grundoram Manual (PDF 1.7MB) - TT Technologies Inc.
- No tags were found...

You also want an ePaper? Increase the reach of your titles
YUMPU automatically turns print PDFs into web optimized ePapers that Google loves.
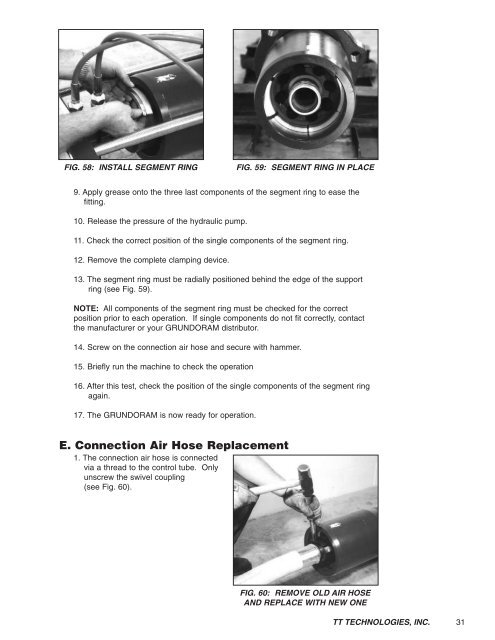
FIG. 58: INSTALL SEGMENT RINGFIG. 59: SEGMENT RING IN PLACE9. Apply grease onto the three last components of the segment ring to ease thefitting.10. Release the pressure of the hydraulic pump.11. Check the correct position of the single components of the segment ring.12. Remove the complete clamping device.13. The segment ring must be radially positioned behind the edge of the supportring (see Fig. 59).NOTE: All components of the segment ring must be checked for the correctposition prior to each operation. If single components do not fit correctly, contactthe manufacturer or your GRUNDORAM distributor.14. Screw on the connection air hose and secure with hammer.15. Briefly run the machine to check the operation16. After this test, check the position of the single components of the segment ringagain.17. The GRUNDORAM is now ready for operation.E. Connection Air Hose Replacement1. The connection air hose is connectedvia a thread to the control tube. Onlyunscrew the swivel coupling(see Fig. 60).FIG. 60: REMOVE OLD AIR HOSEAND REPLACE WITH NEW ONE<strong>TT</strong> TECHNOLOGIES, INC.31