

Mac OS X Server Tutorial - Rhapsody Resource Page
Mac OS X Server Tutorial - Rhapsody Resource Page
Mac OS X Server Tutorial - Rhapsody Resource Page

You also want an ePaper? Increase the reach of your titles
YUMPU automatically turns print PDFs into web optimized ePapers that Google loves.
<strong>Mac</strong> <strong>OS</strong> X <strong>Server</strong> <strong>Tutorial</strong> __39<br />
6. Configuring Apple File Services<br />
Initially, you can only connect to the file server as Administrator, and the only share points (shared volumes or<br />
folders) are all the <strong>Mac</strong> <strong>OS</strong> Extended (HFS Plus) volumes present on the server. As you create users, they are able<br />
to connect to the server, but are unable to mount volumes until you assign them share points.<br />
1. Launching Remote Administration<br />
To create share points, as well as to manage users and groups when you are not at the server, you need to use the<br />
web-based Remote Administration application. From a Java-capable web browser, enter the hostname of the server<br />
(or the IP address), followed by the port number 311.<br />
http://review:311<br />
If you do not have a DNS server (as in our suggested sample subnet), you need to enter the IP address of the server<br />
that you chose in the Setup Assistant. For example:<br />
http://10.0.2.127:311<br />
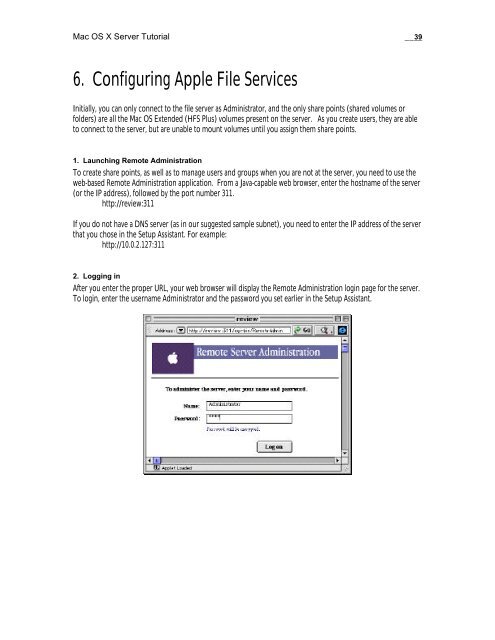
2. Logging in<br />
After you enter the proper URL, your web browser will display the Remote Administration login page for the server.<br />
To login, enter the username Administrator and the password you set earlier in the Setup Assistant.