

Mac OS X Server Tutorial - Rhapsody Resource Page
Mac OS X Server Tutorial - Rhapsody Resource Page
Mac OS X Server Tutorial - Rhapsody Resource Page

You also want an ePaper? Increase the reach of your titles
YUMPU automatically turns print PDFs into web optimized ePapers that Google loves.
<strong>Mac</strong> <strong>OS</strong> X <strong>Server</strong> <strong>Tutorial</strong> __49<br />
8.3 Installing Sample Movies<br />
The sample movies should be available in the same place as the QuickTime Streaming <strong>Server</strong> Update (that is,<br />
http://asu.info.apple.com/swupdates.nsf/artnum/n11357). If you are logged in to the server, you need to:<br />
1. Download the files.<br />
2. Unpackage them (double-click the “.tar” file).<br />
3. Copy them into the Movies directory.<br />
If you followed the directions in Section 3, then your Movies directory is on a <strong>Mac</strong> <strong>OS</strong> Extended (HFS Plus) volume,<br />
such as /<strong>Server</strong>HD_1/Movies. Otherwise, it defaults to /Local/Library/QuickTimeStreaming/Movies.<br />
You can also upload files directly from a <strong>Mac</strong>intosh client, if you’ve placed the movies on a <strong>Mac</strong> <strong>OS</strong> Extended (HFS<br />
Plus) directory in Section 3 and made it a share point in Section 6. This is useful for installing sample movies if<br />
you’re not on the server, or for uploading your own movies.<br />
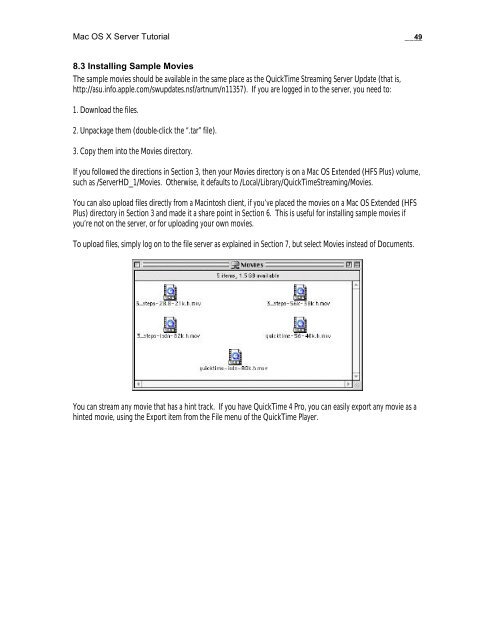
To upload files, simply log on to the file server as explained in Section 7, but select Movies instead of Documents.<br />
You can stream any movie that has a hint track. If you have QuickTime 4 Pro, you can easily export any movie as a<br />
hinted movie, using the Export item from the File menu of the QuickTime Player.