Installing and Configuring WhatsUp Gold v15.0 - Ipswitch ...
Installing and Configuring WhatsUp Gold v15.0 - Ipswitch ...
Installing and Configuring WhatsUp Gold v15.0 - Ipswitch ...
You also want an ePaper? Increase the reach of your titles
YUMPU automatically turns print PDFs into web optimized ePapers that Google loves.
<strong>Installing</strong> <strong>and</strong> <strong>Configuring</strong> <strong>WhatsUp</strong> <strong>Gold</strong> <strong>v15.0</strong><br />
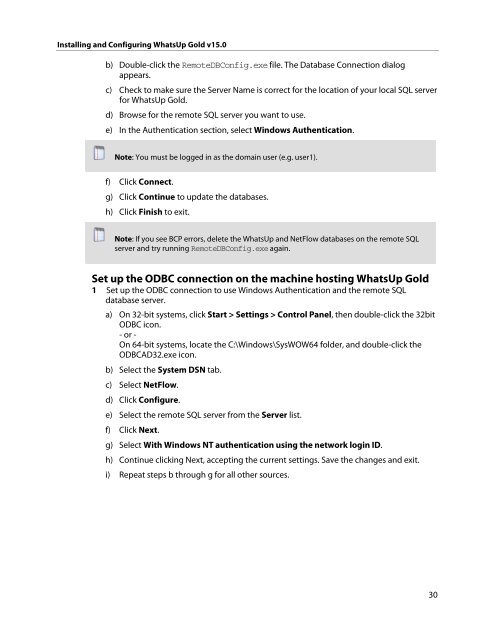
b) Double-click the RemoteDBConfig.exe file. The Database Connection dialog<br />
appears.<br />
c) Check to make sure the Server Name is correct for the location of your local SQL server<br />
for <strong>WhatsUp</strong> <strong>Gold</strong>.<br />
d) Browse for the remote SQL server you want to use.<br />
e) In the Authentication section, select Windows Authentication.<br />
Note: You must be logged in as the domain user (e.g. user1).<br />
f) Click Connect.<br />
g) Click Continue to update the databases.<br />
h) Click Finish to exit.<br />
Note: If you see BCP errors, delete the <strong>WhatsUp</strong> <strong>and</strong> NetFlow databases on the remote SQL<br />
server <strong>and</strong> try running RemoteDBConfig.exe again.<br />
Set up the ODBC connection on the machine hosting <strong>WhatsUp</strong> <strong>Gold</strong><br />
1 Set up the ODBC connection to use Windows Authentication <strong>and</strong> the remote SQL<br />
database server.<br />
a) On 32-bit systems, click Start > Settings > Control Panel, then double-click the 32bit<br />
ODBC icon.<br />
- or -<br />
On 64-bit systems, locate the C:\Windows\SysWOW64 folder, <strong>and</strong> double-click the<br />
ODBCAD32.exe icon.<br />
b) Select the System DSN tab.<br />
c) Select NetFlow.<br />
d) Click Configure.<br />
e) Select the remote SQL server from the Server list.<br />
f) Click Next.<br />
g) Select With Windows NT authentication using the network login ID.<br />
h) Continue clicking Next, accepting the current settings. Save the changes <strong>and</strong> exit.<br />
i) Repeat steps b through g for all other sources.<br />
30


