Deep Sky Imager™: The Basics - Meade
Deep Sky Imager™: The Basics - Meade
Deep Sky Imager™: The Basics - Meade
- TAGS
- deep
- basics
- meade
- www.meade.com
Create successful ePaper yourself
Turn your PDF publications into a flip-book with our unique Google optimized e-Paper software.
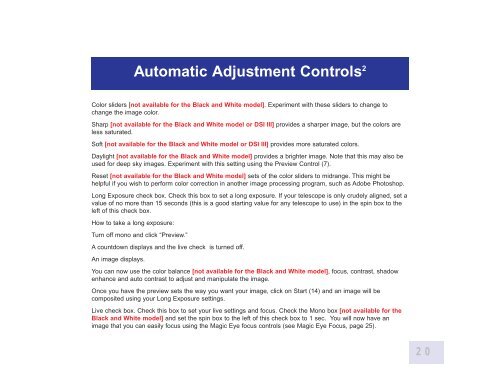
Color sliders [not available for the Black and White model]. Experiment with these sliders to change to<br />
change the image color.<br />
Sharp [not available for the Black and White model or DSI III] provides a sharper image, but the colors are<br />
less saturated.<br />
Soft [not available for the Black and White model or DSI III] provides more saturated colors.<br />
Daylight [not available for the Black and White model] provides a brighter image. Note that this may also be<br />
used for deep sky images. Experiment with this setting using the Preview Control (7).<br />
Reset [not available for the Black and White model] sets of the color sliders to midrange. This might be<br />
helpful if you wish to perform color correction in another image processing program, such as Adobe Photoshop.<br />
Long Exposure check box. Check this box to set a long exposure. If your telescope is only crudely aligned, set a<br />
value of no more than 15 seconds (this is a good starting value for any telescope to use) in the spin box to the<br />
left of this check box.<br />
How to take a long exposure:<br />
Turn off mono and click “Preview.”<br />
A countdown displays and the live check is turned off.<br />
An image displays.<br />
Automatic Adjustment Controls 2<br />
You can now use the color balance [not available for the Black and White model], focus, contrast, shadow<br />
enhance and auto contrast to adjust and manipulate the image.<br />
Once you have the preview sets the way you want your image, click on Start (14) and an image will be<br />
composited using your Long Exposure settings.<br />
Live check box. Check this box to set your live settings and focus. Check the Mono box [not available for the<br />
Black and White model] and set the spin box to the left of this check box to 1 sec. You will now have an<br />
image that you can easily focus using the Magic Eye focus controls (see Magic Eye Focus, page 25).<br />
20


