9363692, Operating manual HDTV Satellite receiver UFS ... - Kathrein
9363692, Operating manual HDTV Satellite receiver UFS ... - Kathrein
9363692, Operating manual HDTV Satellite receiver UFS ... - Kathrein
You also want an ePaper? Increase the reach of your titles
YUMPU automatically turns print PDFs into web optimized ePapers that Google loves.
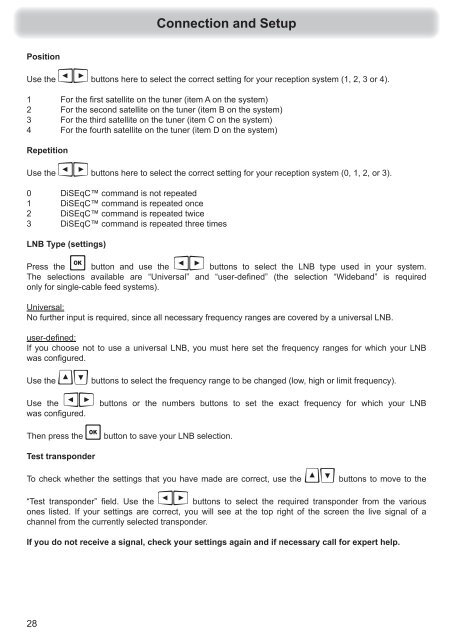
Position<br />
Use the buttons here to select the correct setting for your reception system (1, 2, 3 or 4).<br />
1 For the fi rst satellite on the tuner (item A on the system)<br />
2 For the second satellite on the tuner (item B on the system)<br />
3 For the third satellite on the tuner (item C on the system)<br />
4 For the fourth satellite on the tuner (item D on the system)<br />
Repetition<br />
Use the buttons here to select the correct setting for your reception system (0, 1, 2, or 3).<br />
0 DiSEqC command is not repeated<br />
1 DiSEqC command is repeated once<br />
2 DiSEqC command is repeated twice<br />
3 DiSEqC command is repeated three times<br />
LNB Type (settings)<br />
Press the button and use the buttons to select the LNB type used in your system.<br />
The selections available are “Universal” and “user-defi ned” (the selection “Wideband” is required<br />
only for single-cable feed systems).<br />
Universal:<br />
No further input is required, since all necessary frequency ranges are covered by a universal LNB.<br />
user-defi ned:<br />
If you choose not to use a universal LNB, you must here set the frequency ranges for which your LNB<br />
was confi gured.<br />
Use the buttons to select the frequency range to be changed (low, high or limit frequency).<br />
Use the buttons or the numbers buttons to set the exact frequency for which your LNB<br />
was confi gured.<br />
Then press the button to save your LNB selection.<br />
Test transponder<br />
To check whether the settings that you have made are correct, use the buttons to move to the<br />
“Test transponder” fi eld. Use the buttons to select the required transponder from the various<br />
ones listed. If your settings are correct, you will see at the top right of the screen the live signal of a<br />
channel from the currently selected transponder.<br />
If you do not receive a signal, check your settings again and if necessary call for expert help.<br />
28<br />
Connection and Setup


