


Create successful ePaper yourself
Turn your PDF publications into a flip-book with our unique Google optimized e-Paper software.
General Information<br />
Pre-disassembly Instructions<br />
Before proceeding with the disassembly procedure, make sure that you do the following:<br />
1. Turn off the power to the system and all peripherals.<br />
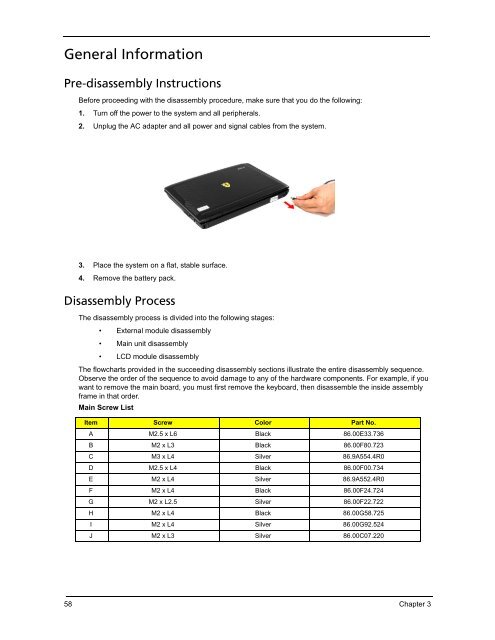
2. Unplug the AC adapter and all power and signal cables from the system.<br />
3. Place the system on a flat, stable surface.<br />
4. Remove the battery pack.<br />
Disassembly Process<br />
The disassembly process is div<strong>id</strong>ed into the following stages:<br />
External module disassembly<br />
Main unit disassembly<br />
LCD module disassembly<br />
The flowcharts prov<strong>id</strong>ed in the succeeding disassembly sections illustrate the entire disassembly sequence.<br />
Observe the order of the sequence to avo<strong>id</strong> damage to any of the hardware components. For example, if you<br />
want to remove the main board, you must first remove the keyboard, then disassemble the ins<strong>id</strong>e assembly<br />
frame in that order.<br />
Main Screw List<br />
Item Screw Color Part No.<br />
A M2.5 x L6 Black 86.00E33.736<br />
B M2 x L3 Black 86.00F80.723<br />
C M3 x L4 Silver 86.9A554.4R0<br />
D M2.5 x L4 Black 86.00F00.734<br />
E M2 x L4 Silver 86.9A552.4R0<br />
F M2 x L4 Black 86.00F24.724<br />
G M2 x L2.5 Silver 86.00F22.722<br />
H M2 x L4 Black 86.00G58.725<br />
I M2 x L4 Silver 86.00G92.524<br />
J M2 x L3 Silver 86.00C07.220<br />
58 Chapter 3


