Edwards iH Dry Pumping Systems, iH80, iH600, iH1000
Edwards iH Dry Pumping Systems, iH80, iH600, iH1000
Edwards iH Dry Pumping Systems, iH80, iH600, iH1000
Create successful ePaper yourself
Turn your PDF publications into a flip-book with our unique Google optimized e-Paper software.
• Recheck the pump rotation direction if the electrical supply has been disconnected.<br />
• 'O’ ringreplacement intervals vary dependingon your application - your local BOCE office<br />
can provide assistance.<br />
• Do not reuse 'O' rings.<br />
• Dispose of components, grease and oil safely (see Section 7.2).<br />
• Take care to protect sealing-faces from damage.<br />
• Do not touch or inhale the thermal breakdown products of fluorinated materials which may be<br />
present if the <strong>iH</strong> system has been overheated to 260 o C and above. These breakdown products<br />
are very dangerous. Fluorinated materials in the <strong>iH</strong> system may include oils, greases and<br />
seals. The <strong>iH</strong> system may have overheated if it was misused, if it malfunctioned or if it was in a<br />
fire. BOC <strong>Edwards</strong> Material Safety Data Sheets for fluorinated materials used in the pump are<br />
available on request: contact your supplier or BOC <strong>Edwards</strong>. (See Section 1.1 for contact<br />
numbers)<br />
• Leak-test the system after maintenance work is complete if you have connected or<br />
disconnected any vacuum or exhaust joints; seal any leaks found.<br />
• Wipe up any water or oil spilt during maintenance to avoid possible risk of slips.<br />
• Route and secure cables, hoses and pipe-work duringmaintenance to avoid possible risk of<br />
trips.<br />
6.2Correct use of tube fittings<br />
Note:<br />
We recommendthat you use a secondspanner to holdthe connector in position when you connect<br />
or disconnect a tube fitting.<br />
You must know how to correctly fit and tighten tube fittings in order to prevent gas leaks; use<br />
the procedures in the following sections.<br />
6.2.1 Fit a tube fitting<br />
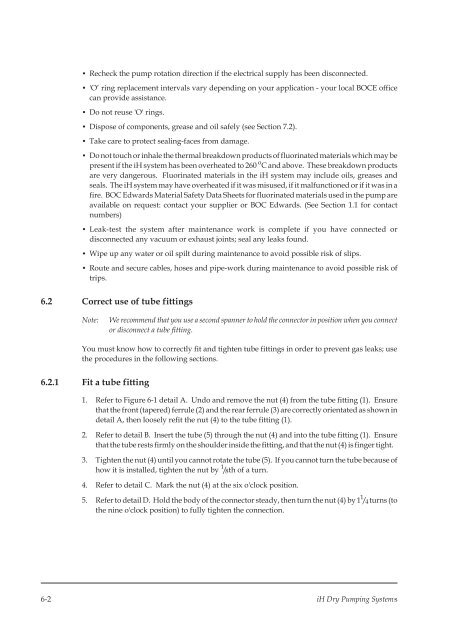
1. Refer to Figure 6-1 detail A. Undo and remove the nut (4) from the tube fitting (1). Ensure<br />
that the front (tapered) ferrule (2) and the rear ferrule (3) are correctly orientated as shown in<br />
detail A, then loosely refit the nut (4) to the tube fitting (1).<br />
2. Refer to detail B. Insert the tube (5) through the nut (4) and into the tube fitting (1). Ensure<br />
that the tube rests firmly on the shoulder inside the fitting, and that the nut (4) is finger tight.<br />
3. Tighten the nut (4) until you cannot rotate the tube (5). If you cannot turn the tube because of<br />
how it is installed, tighten the nut by 1 / 8 th of a turn.<br />
4. Refer to detail C. Mark the nut (4) at the six o'clock position.<br />
5. Refer to detail D. Hold the body of the connector steady, then turn the nut (4) by 1 1 / 4 turns (to<br />
the nine o'clock position) to fully tighten the connection.<br />
6-2 <strong>iH</strong> <strong>Dry</strong> <strong>Pumping</strong> <strong>Systems</strong>


