6100CR Refrigerated Sampler - Isco
6100CR Refrigerated Sampler - Isco
6100CR Refrigerated Sampler - Isco
You also want an ePaper? Increase the reach of your titles
YUMPU automatically turns print PDFs into web optimized ePapers that Google loves.
<strong>6100CR</strong> <strong>Refrigerated</strong> <strong>Sampler</strong><br />
Section 2 Programming<br />
ing the regulator handle clockwise will increase the flow,<br />
counterclockwise will decrease it.<br />
2.2 Program Displays In the following section, the words printed in capital letters represent<br />
messages the <strong>6100CR</strong> displays as you work through the<br />
Setup and Program routines. You do not have to go into Setup<br />
if all you want to change is something in Program. Likewise, it<br />
is not necessary to work all the way through Program to change<br />
something in Setup. Some lines have XXs or other capital letters<br />
in them. These letters represent variables, such as amounts,<br />
times, and dates. When the sampler is first turned on, the<br />
number and software revision will appear briefly on the display.<br />
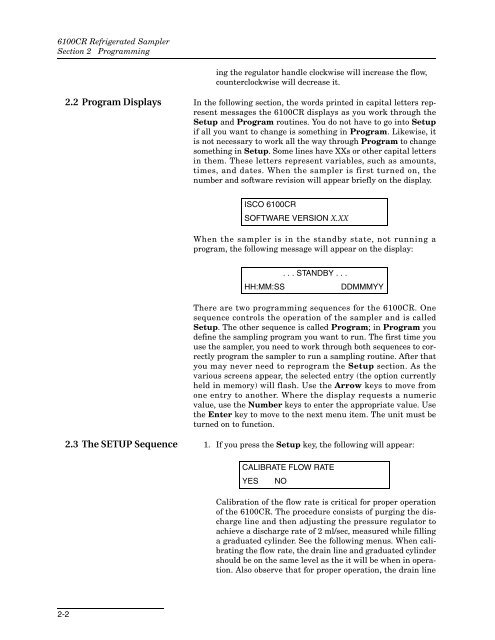
ISCO <strong>6100CR</strong><br />
SOFTWARE VERSION X.XX<br />
When the sampler is in the standby state, not running a<br />
program, the following message will appear on the display:<br />
. . . STANDBY . . .<br />
HH:MM:SS<br />
DDMMMYY<br />
There are two programming sequences for the <strong>6100CR</strong>. One<br />
sequence controls the operation of the sampler and is called<br />
Setup. The other sequence is called Program; in Program you<br />
define the sampling program you want to run. The first time you<br />
use the sampler, you need to work through both sequences to correctly<br />
program the sampler to run a sampling routine. After that<br />
you may never need to reprogram the Setup section. As the<br />
various screens appear, the selected entry (the option currently<br />
held in memory) will flash. Use the Arrow keys to move from<br />
one entry to another. Where the display requests a numeric<br />
value, use the Number keys to enter the appropriate value. Use<br />
the Enter key to move to the next menu item. The unit must be<br />
turned on to function.<br />
2.3 The SETUP Sequence 1. If you press the Setup key, the following will appear:<br />
CALIBRATE FLOW RATE<br />
YES NO<br />
Calibration of the flow rate is critical for proper operation<br />
of the <strong>6100CR</strong>. The procedure consists of purging the discharge<br />
line and then adjusting the pressure regulator to<br />
achieve a discharge rate of 2 ml/sec, measured while filling<br />
a graduated cylinder. See the following menus. When calibrating<br />
the flow rate, the drain line and graduated cylinder<br />
should be on the same level as the it will be when in operation.<br />
Also observe that for proper operation, the drain line<br />
2-2


