TAGnology_TAGid -125kHz_Protocol.pdf - RFID Webshop
TAGnology_TAGid -125kHz_Protocol.pdf - RFID Webshop
TAGnology_TAGid -125kHz_Protocol.pdf - RFID Webshop
You also want an ePaper? Increase the reach of your titles
YUMPU automatically turns print PDFs into web optimized ePapers that Google loves.
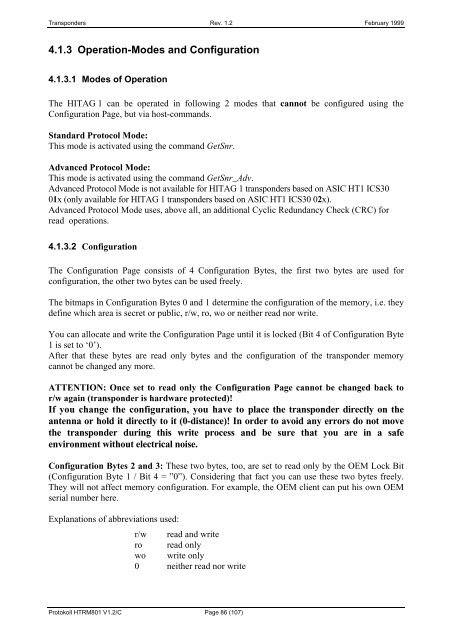
Transponders Rev. 1.2 February 1999<br />
4.1.3 Operation-Modes and Configuration<br />
4.1.3.1 Modes of Operation<br />
The HITAG 1 can be operated in following 2 modes that cannot be configured using the<br />
Configuration Page, but via host-commands.<br />
Standard <strong>Protocol</strong> Mode:<br />
This mode is activated using the command GetSnr.<br />
Advanced <strong>Protocol</strong> Mode:<br />
This mode is activated using the command GetSnr_Adv.<br />
Advanced <strong>Protocol</strong> Mode is not available for HITAG 1 transponders based on ASIC HT1 ICS30<br />
01x (only available for HITAG 1 transponders based on ASIC HT1 ICS30 02x).<br />
Advanced <strong>Protocol</strong> Mode uses, above all, an additional Cyclic Redundancy Check (CRC) for<br />
read operations.<br />
4.1.3.2 Configuration<br />
The Configuration Page consists of 4 Configuration Bytes, the first two bytes are used for<br />
configuration, the other two bytes can be used freely.<br />
The bitmaps in Configuration Bytes 0 and 1 determine the configuration of the memory, i.e. they<br />
define which area is secret or public, r/w, ro, wo or neither read nor write.<br />
You can allocate and write the Configuration Page until it is locked (Bit 4 of Configuration Byte<br />
1 is set to ‘0’).<br />
After that these bytes are read only bytes and the configuration of the transponder memory<br />
cannot be changed any more.<br />
ATTENTION: Once set to read only the Configuration Page cannot be changed back to<br />
r/w again (transponder is hardware protected)!<br />
If you change the configuration, you have to place the transponder directly on the<br />
antenna or hold it directly to it (0-distance)! In order to avoid any errors do not move<br />
the transponder during this write process and be sure that you are in a safe<br />
environment without electrical noise.<br />
Configuration Bytes 2 and 3: These two bytes, too, are set to read only by the OEM Lock Bit<br />
(Configuration Byte 1 / Bit 4 = ”0”). Considering that fact you can use these two bytes freely.<br />
They will not affect memory configuration. For example, the OEM client can put his own OEM<br />
serial number here.<br />
Explanations of abbreviations used:<br />
r/w read and write<br />
ro read only<br />
wo write only<br />
0 neither read nor write<br />
Protokoll HTRM801 V1.2/C Page 86 (107)


