Administration - Siemens Enterprise Communications
Administration - Siemens Enterprise Communications
Administration - Siemens Enterprise Communications
You also want an ePaper? Increase the reach of your titles
YUMPU automatically turns print PDFs into web optimized ePapers that Google loves.
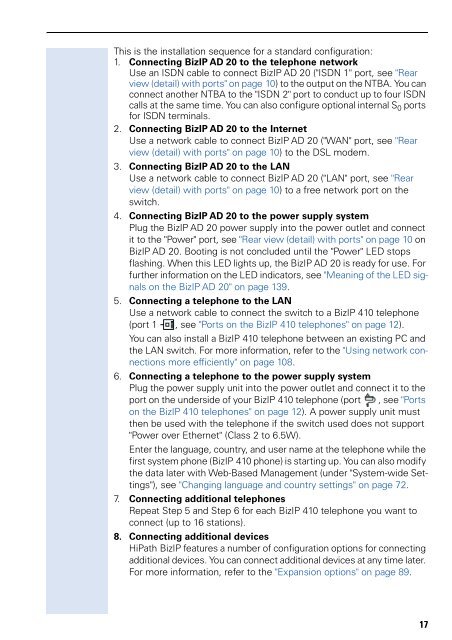
This is the installation sequence for a standard configuration:<br />
1. Connecting BizIP AD 20 to the telephone network<br />
Use an ISDN cable to connect BizIP AD 20 ("ISDN 1" port, see "Rear<br />
view (detail) with ports" on page 10) to the output on the NTBA. You can<br />
connect another NTBA to the "ISDN 2" port to conduct up to four ISDN<br />
calls at the same time. You can also configure optional internal S 0 ports<br />
for ISDN terminals.<br />
2. Connecting BizIP AD 20 to the Internet<br />
Use a network cable to connect BizIP AD 20 ("WAN" port, see "Rear<br />
view (detail) with ports" on page 10) to the DSL modem.<br />
3. Connecting BizIP AD 20 to the LAN<br />
Use a network cable to connect BizIP AD 20 ("LAN" port, see "Rear<br />
view (detail) with ports" on page 10) to a free network port on the<br />
switch.<br />
4. Connecting BizIP AD 20 to the power supply system<br />
Plug the BizIP AD 20 power supply into the power outlet and connect<br />
it to the "Power" port, see "Rear view (detail) with ports" on page 10 on<br />
BizIP AD 20. Booting is not concluded until the "Power" LED stops<br />
flashing. When this LED lights up, the BizIP AD 20 is ready for use. For<br />
further information on the LED indicators, see "Meaning of the LED signals<br />
on the BizIP AD 20" on page 139.<br />
5. Connecting a telephone to the LAN<br />
Use a network cable to connect the switch to a BizIP 410 telephone<br />
(port 1 , see "Ports on the BizIP 410 telephones" on page 12).<br />
You can also install a BizIP 410 telephone between an existing PC and<br />
the LAN switch. For more information, refer to the "Using network connections<br />
more efficiently" on page 108.<br />
6. Connecting a telephone to the power supply system<br />
Plug the power supply unit into the power outlet and connect it to the<br />
port on the underside of your BizIP 410 telephone (port , see "Ports<br />
on the BizIP 410 telephones" on page 12). A power supply unit must<br />
then be used with the telephone if the switch used does not support<br />
"Power over Ethernet" (Class 2 to 6.5W).<br />
Enter the language, country, and user name at the telephone while the<br />
first system phone (BizIP 410 phone) is starting up. You can also modify<br />
the data later with Web-Based Management (under "System-wide Settings"),<br />
see "Changing language and country settings" on page 72.<br />
7. Connecting additional telephones<br />
Repeat Step 5 and Step 6 for each BizIP 410 telephone you want to<br />
connect (up to 16 stations).<br />
8. Connecting additional devices<br />
HiPath BizIP features a number of configuration options for connecting<br />
additional devices. You can connect additional devices at any time later.<br />
For more information, refer to the "Expansion options" on page 89.<br />
17


