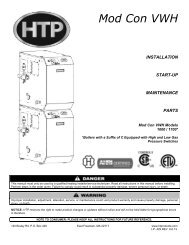
MC Series Gas-Fired Circulating Heater - Heat Transfer Products, Inc
MC Series Gas-Fired Circulating Heater - Heat Transfer Products, Inc
MC Series Gas-Fired Circulating Heater - Heat Transfer Products, Inc

You also want an ePaper? Increase the reach of your titles
YUMPU automatically turns print PDFs into web optimized ePapers that Google loves.
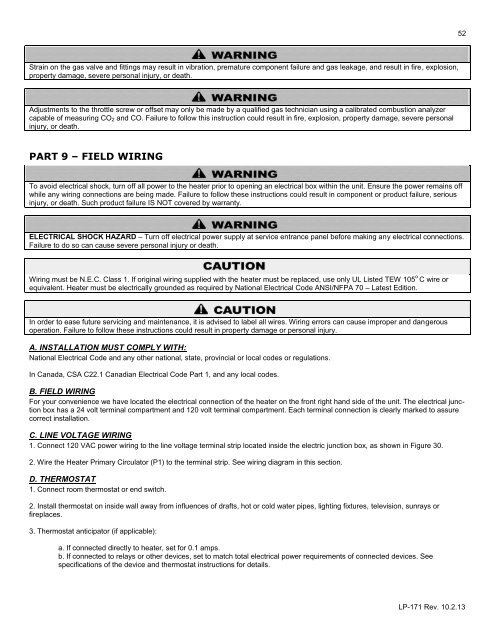
52<br />
Strain on the gas valve and fittings may result in vibration, premature component failure and gas leakage, and result in fire, explosion,<br />
property damage, severe personal injury, or death.<br />
Adjustments to the throttle screw or offset may only be made by a qualified gas technician using a calibrated combustion analyzer<br />
capable of measuring CO 2 and CO. Failure to follow this instruction could result in fire, explosion, property damage, severe personal<br />
injury, or death.<br />
PART 9 – FIELD WIRING<br />
To avoid electrical shock, turn off all power to the heater prior to opening an electrical box within the unit. Ensure the power remains off<br />
while any wiring connections are being made. Failure to follow these instructions could result in component or product failure, serious<br />
injury, or death. Such product failure IS NOT covered by warranty.<br />
ELECTRICAL SHOCK HAZARD – Turn off electrical power supply at service entrance panel before making any electrical connections.<br />
Failure to do so can cause severe personal injury or death.<br />
Wiring must be N.E.C. Class 1. If original wiring supplied with the heater must be replaced, use only UL Listed TEW 105 o C wire or<br />
equivalent. <strong><strong>Heat</strong>er</strong> must be electrically grounded as required by National Electrical Code ANSI/NFPA 70 – Latest Edition.<br />
In order to ease future servicing and maintenance, it is advised to label all wires. Wiring errors can cause improper and dangerous<br />
operation. Failure to follow these instructions could result in property damage or personal injury.<br />
A. INSTALLATION MUST COMPLY WITH:<br />
National Electrical Code and any other national, state, provincial or local codes or regulations.<br />
In Canada, CSA C22.1 Canadian Electrical Code Part 1, and any local codes.<br />
B. FIELD WIRING<br />
For your convenience we have located the electrical connection of the heater on the front right hand side of the unit. The electrical junction<br />
box has a 24 volt terminal compartment and 120 volt terminal compartment. Each terminal connection is clearly marked to assure<br />
correct installation.<br />
C. LINE VOLTAGE WIRING<br />
1. Connect 120 VAC power wiring to the line voltage terminal strip located inside the electric junction box, as shown in Figure 30.<br />
2. Wire the <strong><strong>Heat</strong>er</strong> Primary Circulator (P1) to the terminal strip. See wiring diagram in this section.<br />
D. THERMOSTAT<br />
1. Connect room thermostat or end switch.<br />
2. Install thermostat on inside wall away from influences of drafts, hot or cold water pipes, lighting fixtures, television, sunrays or<br />
fireplaces.<br />
3. Thermostat anticipator (if applicable):<br />
a. If connected directly to heater, set for 0.1 amps.<br />
b. If connected to relays or other devices, set to match total electrical power requirements of connected devices. See<br />
specifications of the device and thermostat instructions for details.<br />
LP-171 Rev. 10.2.13