MC Series Gas-Fired Circulating Heater - Heat Transfer Products, Inc
MC Series Gas-Fired Circulating Heater - Heat Transfer Products, Inc
MC Series Gas-Fired Circulating Heater - Heat Transfer Products, Inc

You also want an ePaper? Increase the reach of your titles
YUMPU automatically turns print PDFs into web optimized ePapers that Google loves.
69<br />
<br />
<br />
<br />
Check combustion air inlet piping.<br />
o Visually inspect the air inlet piping for any signs of blockage. Inspect the entire length of the intake to ensure piping is<br />
intact and all joints are properly sealed and supported. Notify a qualified service technician if any problems are found.<br />
Check the pressure relief valve.<br />
o Visually inspect the primary pressure relief valve and discharge pipe for signs of weeping or leakage.<br />
o If the pressure relief valve often weeps, the expansion tank may not be operating properly. Immediately contact a<br />
qualified service technician to inspect the unit and system.<br />
Check the condensate drain system.<br />
o While the unit is running, check the discharge end of the condensate drain tubing. Ensure no clue gas is leaking from<br />
the condensate drain tubing by holding your fingers near the opening.<br />
o If you notice flue gas leaking from the opening, this indicates a dry condensate drain trap. Fill the condensate trap<br />
assembly with water. If problem persists regularly, contact a qualified service technician to inspect the unit and<br />
condensate line.<br />
o The service technician must ensure the condensate drain line is not blocked by pouring water through the plug port<br />
on the condensate drain assembly. The water should flow out of the end of the drain line. If water does not appear at<br />
the end of the drain line, the qualified service technician must clean the condensate line.<br />
o To fill the condensate drain assembly, remove the cup from the assembly. Slowly pour water into the cup until water<br />
appears at the end of the drain line. Stop filling and replace the cup.<br />
You must ensure that the condensate cup is securely fastened before restarting heater. Do a final check to ensure proper condensate<br />
flow.<br />
Every 6 Months<br />
Check heater piping and gas supply piping for corrosion or signs of potential leakage.<br />
o Remove the heater cover and perform a gas leak inspection following <strong>Gas</strong> Valve Operating Instructions, p. 2 in this<br />
manual. If gas or odor leak is detected, immediately shut down the unit following To Turn Off <strong>Gas</strong> To Appliance<br />
procedures on p. 2. Call a qualified service technician.<br />
o Visually inspect for leaks around the internal heater water connections and around the heat exchanger. Visually<br />
inspect the external system piping, circulators, and system components and fittings. Immediately call a qualified<br />
service technician to repair any leaks.<br />
Have gas leaks fixed at once by a qualified service technician. Failure to comply could result in substantial property damage, severe<br />
personal injury, or death.<br />
<br />
Operate pressure relief valve.<br />
o Before proceeding, verify that the relief valve outlet has been piped to a safe place of discharge, avoiding any<br />
possibility of scalding from hot water.<br />
To avoid water damage or scalding due to relief valve operation, a discharge line must be connected to the valve outlet and directed to<br />
a safe place of disposal. This discharge line must be installed by a qualified service technician or heating/plumbing installer in<br />
accordance with this manual. The discharge line must be terminated so as to eliminate possibility of severe burns or property damage<br />
should the valve discharge.<br />
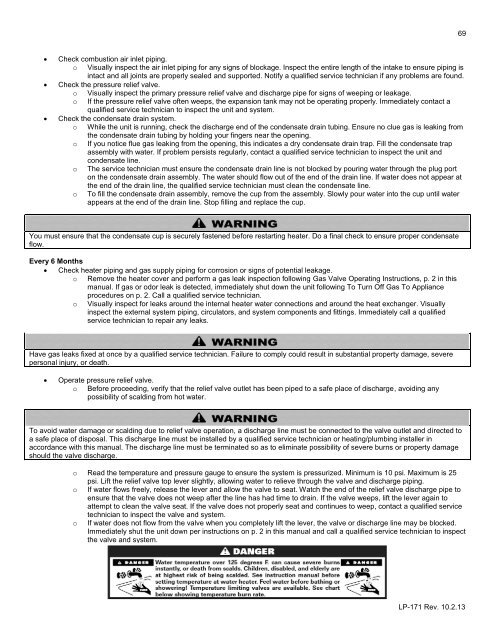
o Read the temperature and pressure gauge to ensure the system is pressurized. Minimum is 10 psi. Maximum is 25<br />
psi. Lift the relief valve top lever slightly, allowing water to relieve through the valve and discharge piping.<br />
o If water flows freely, release the lever and allow the valve to seat. Watch the end of the relief valve discharge pipe to<br />
ensure that the valve does not weep after the line has had time to drain. If the valve weeps, lift the lever again to<br />
attempt to clean the valve seat. If the valve does not properly seat and continues to weep, contact a qualified service<br />
technician to inspect the valve and system.<br />
o If water does not flow from the valve when you completely lift the lever, the valve or discharge line may be blocked.<br />
Immediately shut the unit down per instructions on p. 2 in this manual and call a qualified service technician to inspect<br />
the valve and system.<br />
LP-171 Rev. 10.2.13