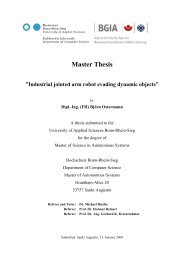
Master Thesis - Fachbereich Informatik
Master Thesis - Fachbereich Informatik
Master Thesis - Fachbereich Informatik
Create successful ePaper yourself
Turn your PDF publications into a flip-book with our unique Google optimized e-Paper software.
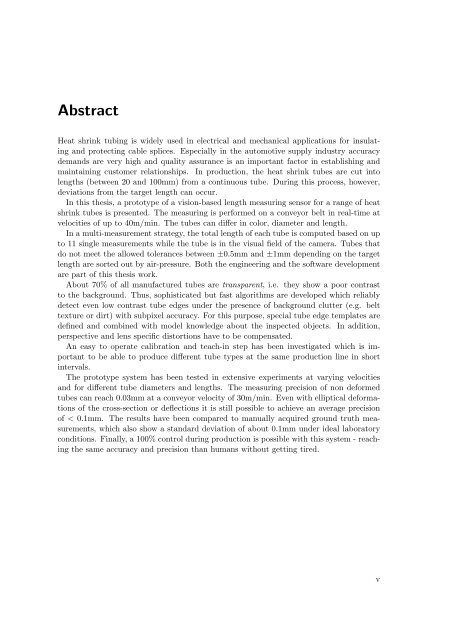
Abstract<br />
Heat shrink tubing is widely used in electrical and mechanical applications for insulating<br />
and protecting cable splices. Especially in the automotive supply industry accuracy<br />
demands are very high and quality assurance is an important factor in establishing and<br />
maintaining customer relationships. In production, the heat shrink tubes are cut into<br />
lengths (between 20 and 100mm) from a continuous tube. During this process, however,<br />
deviations from the target length can occur.<br />
In this thesis, a prototype of a vision-based length measuring sensor for a range of heat<br />
shrink tubes is presented. The measuring is performed on a conveyor belt in real-time at<br />
velocities of up to 40m/min. The tubes can differ in color, diameter and length.<br />
In a multi-measurement strategy, the total length of each tube is computed based on up<br />
to 11 single measurements while the tube is in the visual field of the camera. Tubes that<br />
do not meet the allowed tolerances between ±0.5mm and ±1mm depending on the target<br />
length are sorted out by air-pressure. Both the engineering and the software development<br />
are part of this thesis work.<br />
About 70% of all manufactured tubes are transparent, i.e. they show a poor contrast<br />
to the background. Thus, sophisticated but fast algorithms are developed which reliably<br />
detect even low contrast tube edges under the presence of background clutter (e.g. belt<br />
texture or dirt) with subpixel accuracy. For this purpose, special tube edge templates are<br />
defined and combined with model knowledge about the inspected objects. In addition,<br />
perspective and lens specific distortions have to be compensated.<br />
An easy to operate calibration and teach-in step has been investigated which is importanttobeabletoproducedifferenttubetypesatthesameproductionlineinshort<br />
intervals.<br />
The prototype system has been tested in extensive experiments at varying velocities<br />
and for different tube diameters and lengths. The measuring precision of non deformed<br />
tubes can reach 0.03mm at a conveyor velocity of 30m/min. Even with elliptical deformations<br />
of the cross-section or deflections it is still possible to achieve an average precision<br />
of < 0.1mm. The results have been compared to manually acquired ground truth measurements,<br />
which also show a standard deviation of about 0.1mm under ideal laboratory<br />
conditions. Finally, a 100% control during production is possible with this system - reaching<br />
the same accuracy and precision than humans without getting tired.<br />
v


