display

You also want an ePaper? Increase the reach of your titles
YUMPU automatically turns print PDFs into web optimized ePapers that Google loves.
ExpressCard assembly<br />
Description<br />
Spare part number<br />
ExpressCard assembly 492567-001<br />
Before removing the PC Card assembly, follow these steps:<br />
1. Shut down the computer. If you are unsure whether the computer is off or in Hibernation, turn<br />
the computer on, and then shut it down through the operating system.<br />
2. Disconnect all external devices connected to the computer.<br />
3. Disconnect the power from the computer by first unplugging the power cord from the AC outlet<br />
and then unplugging the AC adapter from the computer.<br />
4. Remove the battery (see Battery on page 46).<br />
5. Remove the following components:<br />
a. Primary hard drive (see Primary hard drive on page 55)<br />
b. WLAN module (see WLAN module on page 52)<br />
c. Optical drive (see Optical drive on page 60) or Secondary hard drive (see Secondary hard<br />
drive on page 67)<br />
d. Switch cover and keyboard (see Switch cover and keyboard on page 62)<br />
e. Display assembly (see Display assembly on page 73)<br />
f. Top cover (see Top cover on page 79)<br />
g. System board (see System board on page 86)<br />
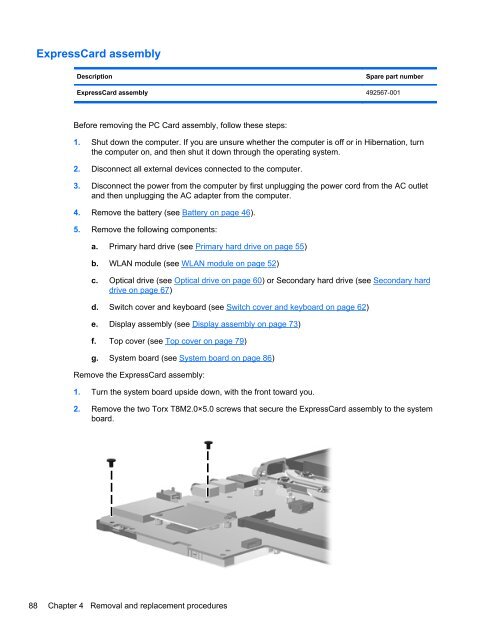
Remove the ExpressCard assembly:<br />
1. Turn the system board upside down, with the front toward you.<br />
2. Remove the two Torx T8M2.0×5.0 screws that secure the ExpressCard assembly to the system<br />
board.<br />
88 Chapter 4 Removal and replacement procedures