
Create successful ePaper yourself
Turn your PDF publications into a flip-book with our unique Google optimized e-Paper software.
Chapter 6. Creating an Original Pattern<br />
Modifying a note that you input<br />
(Note Edit)<br />
You can modify the pitch, strength, and length of an alreadyentered<br />
note.<br />
1. During step recording, turn [VALUE] or use the D-<br />
FIELD to move to the location of the note that you<br />
wish to edit (p. 63).<br />
2. Hold down one of the REC FUNCTION buttons [NOTE<br />
NUMBER]–[GATE TIME], and press [EDIT].<br />
The REC FUNCTION button that you pressed will blink,<br />
and you will be in Note Edit mode.<br />
3. Turn [VALUE] to modify the value.<br />
4. By pressing another REC FUNCTION button other<br />
than the one that is currently blinking, you can<br />
modify its parameter.<br />
5. Repeat steps 3 and 4 to edit the note.<br />
6. When you are finished with note editing, press<br />
[ENTER] or [EDIT].<br />
The REC FUNCTION button will change from blinking<br />
to lit.<br />
By using REC FUNCTION [NOTE NUMBER] to switch<br />
pitches, you can independently edit each note of a chord.<br />
For notes that are between two grid lines, the beat scan<br />
indicator of the preceding grid line will light (or blink), but if<br />
you press [EDIT] on that grid line, the display will indicate<br />
“noEdit.” In this case, use the D-FIELD 5–8 functions (p. 63)<br />
to select the note.<br />
64<br />
Adjusting the location of a previously<br />
input note<br />
You can move the location of a previously input note (Move<br />
Note), or copy it to a different location (Copy Note).<br />
1. During step recording, turn [VALUE] or use the D-<br />
FIELD to move to the location of the note that you<br />
wish to move (copy).<br />
2. Press [EDIT].<br />
3. Turn [VALUE] to select whether the note will be<br />
moved or copied.<br />
Move the note.<br />
Copy the note.<br />
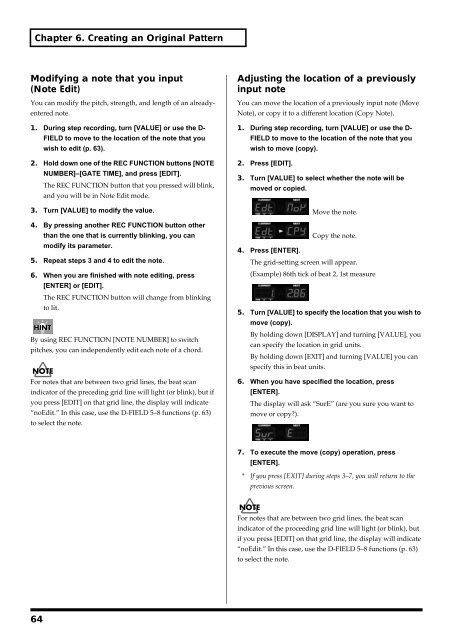
4. Press [ENTER].<br />
The grid-setting screen will appear.<br />
(Example) 86th tick of beat 2, 1st measure<br />
5. Turn [VALUE] to specify the location that you wish to<br />
move (copy).<br />
By holding down [DISPLAY] and turning [VALUE], you<br />
can specify the location in grid units.<br />
By holding down [EXIT] and turning [VALUE] you can<br />
specify this in beat units.<br />
6. When you have specified the location, press<br />
[ENTER].<br />
The display will ask “SurE” (are you sure you want to<br />
move or copy?).<br />
7. To execute the move (copy) operation, press<br />
[ENTER].<br />
* If you press [EXIT] during steps 3–7, you will return to the<br />
previous screen.<br />
For notes that are between two grid lines, the beat scan<br />
indicator of the proceeding grid line will light (or blink), but<br />
if you press [EDIT] on that grid line, the display will indicate<br />
“noEdit.” In this case, use the D-FIELD 5–8 functions (p. 63)<br />
to select the note.