Digital Trunking â Desktop/Mobile Radio Scanner - Radio Shack
Digital Trunking â Desktop/Mobile Radio Scanner - Radio Shack
Digital Trunking â Desktop/Mobile Radio Scanner - Radio Shack
You also want an ePaper? Increase the reach of your titles
YUMPU automatically turns print PDFs into web optimized ePapers that Google loves.
<strong>Scanner</strong> Setup<br />
<strong>Scanner</strong> Setup<br />
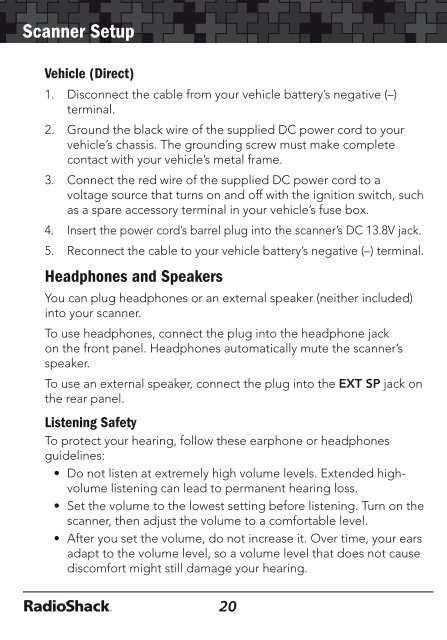
Vehicle (Direct)<br />
1. Disconnect the cable from your vehicle battery’s negative (–)<br />
terminal.<br />
2. Ground the black wire of the supplied DC power cord to your<br />
vehicle’s chassis. The grounding screw must make complete<br />
contact with your vehicle’s metal frame.<br />
3. Connect the red wire of the supplied DC power cord to a<br />
voltage source that turns on and off with the ignition switch, such<br />
as a spare accessory terminal in your vehicle’s fuse box.<br />
4. Insert the power cord’s barrel plug into the scanner’s DC 13.8V jack.<br />
5. Reconnect the cable to your vehicle battery’s negative (–) terminal.<br />
Headphones and Speakers<br />
You can plug headphones or an external speaker (neither included)<br />
into your scanner.<br />
To use headphones, connect the plug into the headphone jack<br />
on the front panel. Headphones automatically mute the scanner’s<br />
speaker.<br />
To use an external speaker, connect the plug into the EXT SP jack on<br />
the rear panel.<br />
Listening Safety<br />
To protect your hearing, follow these earphone or headphones<br />
guidelines:<br />
• Do not listen at extremely high volume levels. Extended highvolume<br />
listening can lead to permanent hearing loss.<br />
• Set the volume to the lowest setting before listening. Turn on the<br />
scanner, then adjust the volume to a comfortable level.<br />
• After you set the volume, do not increase it. Over time, your ears<br />
adapt to the volume level, so a volume level that does not cause<br />
discomfort might still damage your hearing.<br />
20<br />
• Do not wear an earphone or headphones with your scanner<br />
when operating a motor vehicle or riding a bicycle in or near<br />
traffic. Doing so can create a traffic hazard and could be illegal in<br />
some areas.<br />
• Even though some earphones/headphones let you hear some<br />
outside sounds when listening at normal volume, they can still be<br />
a traffic hazard.<br />
Transferring Data To or From another <strong>Scanner</strong> or PC<br />
You can transfer the programmed data to and from another PRO-197<br />
or PRO-106 scanner using a connecting cable which has 1/8-inch<br />
(3.5mm) stereo (TRS) phone plugs on both ends (not supplied). See<br />
“Cloning” on page 71.<br />
You can also upload or download programmed data to or from a PC<br />
using a USB cable available through your local <strong>Radio</strong><strong>Shack</strong> store or<br />
at <strong>Radio</strong><strong>Shack</strong>.com. To find the application software, we recommend<br />
using an internet search engine to search for “scanner programming<br />
software.”<br />
Turning on the <strong>Scanner</strong> and Setting Squelch<br />
1. Turn the VOLUME and SQUELCH knobs clockwise to about<br />
their mid-point (12:00 o’clock) position.<br />
Note: Make sure the scanner’s antenna is connected before you turn it on.<br />
2. Press TUNE.<br />
3. Turn SQUELCH down (counterclockwise) until you hear noise.<br />
4. Turn SQUELCH up (clockwise) a little past where the noise stops.<br />
The higher the squelch is set, the stronger the signal required to<br />
break the squelch.<br />
5. If noise starts breaking the squelch, turn SQUELCH up to<br />
decrease the scanner’s sensitivity. To hear weaker signals, turn<br />
SQUELCH down to increase its sensitivity.<br />
21


