ecoTEC pro - Vaillant
ecoTEC pro - Vaillant
ecoTEC pro - Vaillant
You also want an ePaper? Increase the reach of your titles
YUMPU automatically turns print PDFs into web optimized ePapers that Google loves.
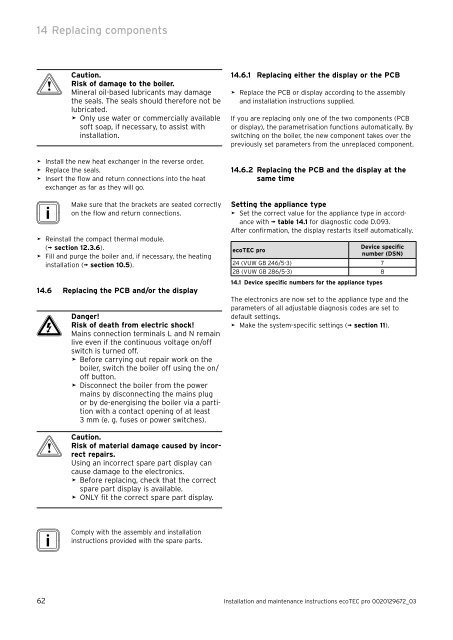
14 Replacing components<br />
b Caution.<br />
Risk of damage to the boiler.<br />
Mineral oil-based lubricants may damage<br />
the seals. The seals should therefore not be<br />
lubricated.<br />
> Only use water or commercially available<br />
soft soap, if necessary, to assist with<br />
installation.<br />
> Install the new heat exchanger in the reverse order.<br />
> Replace the seals.<br />
> Insert the flow and return connections into the heat<br />
exchanger as far as they will go.<br />
i Make<br />
sure that the brackets are seated correctly<br />
on the flow and return connections.<br />
> Reinstall the compact thermal module.<br />
(¬ section 12.3.6).<br />
> Fill and purge the boiler and, if necessary, the heating<br />
installation (¬ section 10.5).<br />
14.6 Replacing the PCB and/or the display<br />
e Danger!<br />
Risk of death from electric shock!<br />
Mains connection terminals L and N remain<br />
live even if the continuous voltage on/off<br />
switch is turned off.<br />
> Before carrying out repair work on the<br />
boiler, switch the boiler off using the on/<br />
off button.<br />
> Disconnect the boiler from the power<br />
mains by disconnecting the mains plug<br />
or by de-energising the boiler via a partition<br />
with a contact opening of at least<br />
3 mm (e. g. fuses or power switches).<br />
b<br />
Caution.<br />
Risk of material damage caused by incorrect<br />
repairs.<br />
Using an incorrect spare part display can<br />
cause damage to the electronics.<br />
> Before replacing, check that the correct<br />
spare part display is available.<br />
> ONLY fit the correct spare part display.<br />
i Comply<br />
with the assembly and installation<br />
instructions <strong>pro</strong>vided with the spare parts.<br />
14.6.1 Replacing either the display or the PCB<br />
> Replace the PCB or display according to the assembly<br />
and installation instructions supplied.<br />
If you are replacing only one of the two components (PCB<br />
or display), the parametrisation functions automatically. By<br />
switching on the boiler, the new component takes over the<br />
previously set parameters from the unreplaced component.<br />
14.6.2 Replacing the PCB and the display at the<br />
same time<br />
Setting the appliance type<br />
> Set the correct value for the appliance type in accordance<br />
with ¬ table 14.1 for diagnostic code D.093.<br />
After confirmation, the display restarts itself automatically.<br />
<strong>ecoTEC</strong> <strong>pro</strong><br />
Device specific<br />
number (DSN)<br />
24 (VUW GB 246/5-3) 7<br />
28 (VUW GB 286/5-3) 8<br />
14.1 Device specific numbers for the appliance types<br />
The electronics are now set to the appliance type and the<br />
parameters of all adjustable diagnosis codes are set to<br />
default settings.<br />
> Make the system-specific settings (¬ section 11).<br />
62 Installation and maintenance instructions <strong>ecoTEC</strong> <strong>pro</strong> 0020129672_03


