

CSP Gateway Configuration Guide - InterSystems Documentation
CSP Gateway Configuration Guide - InterSystems Documentation
CSP Gateway Configuration Guide - InterSystems Documentation

You also want an ePaper? Increase the reach of your titles
YUMPU automatically turns print PDFs into web optimized ePapers that Google loves.
Atypical Options for IIS7 or Later<br />
Map only files of type .csp, .cls, .zen, .cxw to the <strong>CSP</strong> <strong>Gateway</strong>.<br />
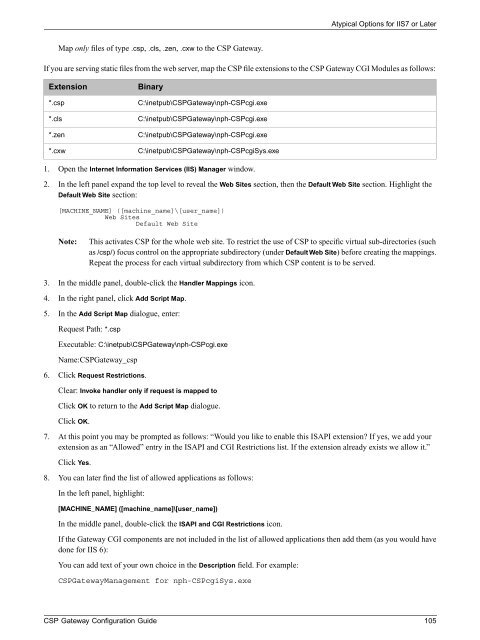
If you are serving static files from the web server, map the <strong>CSP</strong> file extensions to the <strong>CSP</strong> <strong>Gateway</strong> CGI Modules as follows:<br />
Extension<br />
*.csp<br />
*.cls<br />
*.zen<br />
*.cxw<br />
Binary<br />
C:\inetpub\<strong>CSP</strong><strong>Gateway</strong>\nph-<strong>CSP</strong>cgi.exe<br />
C:\inetpub\<strong>CSP</strong><strong>Gateway</strong>\nph-<strong>CSP</strong>cgi.exe<br />
C:\inetpub\<strong>CSP</strong><strong>Gateway</strong>\nph-<strong>CSP</strong>cgi.exe<br />
C:\inetpub\<strong>CSP</strong><strong>Gateway</strong>\nph-<strong>CSP</strong>cgiSys.exe<br />
1. Open the Internet Information Services (IIS) Manager window.<br />
2. In the left panel expand the top level to reveal the Web Sites section, then the Default Web Site section. Highlight the<br />
Default Web Site section:<br />
[MACHINE_NAME] ([machine_name]\[user_name])<br />
Web Sites<br />
Default Web Site<br />
Note:<br />
This activates <strong>CSP</strong> for the whole web site. To restrict the use of <strong>CSP</strong> to specific virtual sub-directories (such<br />
as /csp/) focus control on the appropriate subdirectory (under Default Web Site) before creating the mappings.<br />
Repeat the process for each virtual subdirectory from which <strong>CSP</strong> content is to be served.<br />
3. In the middle panel, double-click the Handler Mappings icon.<br />
4. In the right panel, click Add Script Map.<br />
5. In the Add Script Map dialogue, enter:<br />
Request Path: *.csp<br />
Executable: C:\inetpub\<strong>CSP</strong><strong>Gateway</strong>\nph-<strong>CSP</strong>cgi.exe<br />
Name:<strong>CSP</strong><strong>Gateway</strong>_csp<br />
6. Click Request Restrictions.<br />
Clear: Invoke handler only if request is mapped to<br />
Click OK to return to the Add Script Map dialogue.<br />
Click OK.<br />
7. At this point you may be prompted as follows: “Would you like to enable this ISAPI extension If yes, we add your<br />
extension as an “Allowed” entry in the ISAPI and CGI Restrictions list. If the extension already exists we allow it.”<br />
Click Yes.<br />
8. You can later find the list of allowed applications as follows:<br />
In the left panel, highlight:<br />
[MACHINE_NAME] ([machine_name]\[user_name])<br />
In the middle panel, double-click the ISAPI and CGI Restrictions icon.<br />
If the <strong>Gateway</strong> CGI components are not included in the list of allowed applications then add them (as you would have<br />
done for IIS 6):<br />
You can add text of your own choice in the Description field. For example:<br />
<strong>CSP</strong><strong>Gateway</strong>Management for nph-<strong>CSP</strong>cgiSys.exe<br />
<strong>CSP</strong> <strong>Gateway</strong> <strong>Configuration</strong> <strong>Guide</strong> 105


