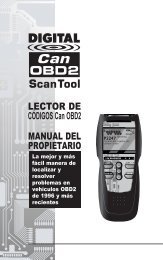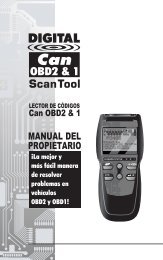
Untitled - Innova
Untitled - Innova
Untitled - Innova

You also want an ePaper? Increase the reach of your titles
YUMPU automatically turns print PDFs into web optimized ePapers that Google loves.
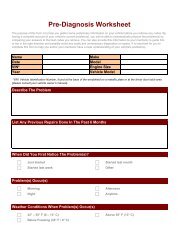
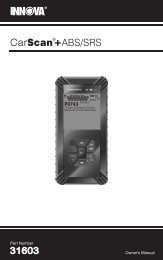
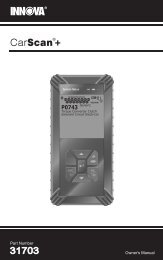
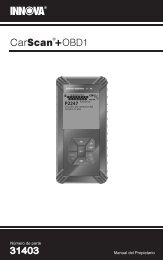
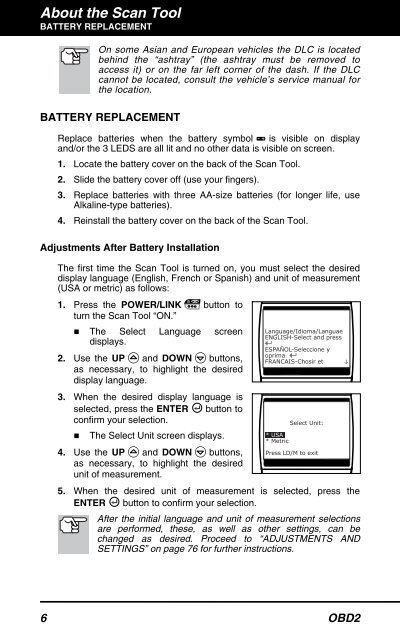
About the Scan Tool<br />
BATTERY REPLACEMENT<br />
On some Asian and European vehicles the DLC is located<br />
behind the “ashtray” (the ashtray must be removed to<br />
access it) or on the far left corner of the dash. If the DLC<br />
cannot be located, consult the vehicle’s service manual for<br />
the location.<br />
BATTERY REPLACEMENT<br />
Replace batteries when the battery symbol is visible on display<br />
and/or the 3 LEDS are all lit and no other data is visible on screen.<br />
1. Locate the battery cover on the back of the Scan Tool.<br />
2. Slide the battery cover off (use your fingers).<br />
3. Replace batteries with three AA-size batteries (for longer life, use<br />
Alkaline-type batteries).<br />
4. Reinstall the battery cover on the back of the Scan Tool.<br />
Adjustments After Battery Installation<br />
The first time the Scan Tool is turned on, you must select the desired<br />
display language (English, French or Spanish) and unit of measurement<br />
(USA or metric) as follows:<br />
1. Press the POWER/LINK button to<br />
turn the Scan Tool “ON.”<br />
• The Select Language screen<br />
displays.<br />
2. Use the UP and DOWN buttons,<br />
as necessary, to highlight the desired<br />
display language.<br />
3. When the desired display language is<br />
selected, press the ENTER button to<br />
confirm your selection.<br />
• The Select Unit screen displays.<br />
4. Use the UP and DOWN buttons,<br />
as necessary, to highlight the desired<br />
unit of measurement.<br />
5. When the desired unit of measurement is selected, press the<br />
ENTER button to confirm your selection.<br />
After the initial language and unit of measurement selections<br />
are performed, these, as well as other settings, can be<br />
changed as desired. Proceed to “ADJUSTMENTS AND<br />
SETTINGS” on page 76 for further instructions.<br />
6 OBD2