airVision User Guide - Ubiquiti Networks
airVision User Guide - Ubiquiti Networks
airVision User Guide - Ubiquiti Networks

You also want an ePaper? Increase the reach of your titles
YUMPU automatically turns print PDFs into web optimized ePapers that Google loves.
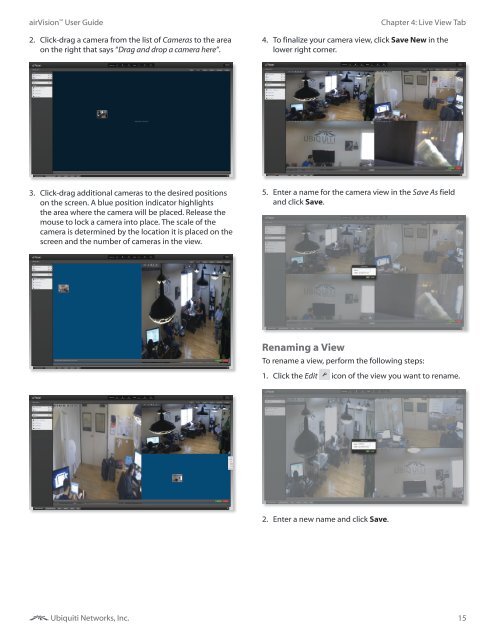
<strong>airVision</strong> <strong>User</strong> <strong>Guide</strong>2. Click-drag a camera from the list of Cameras to the areaon the right that says “Drag and drop a camera here”.Chapter 4: Live View Tab4. To finalize your camera view, click Save New in thelower right corner.3. Click-drag additional cameras to the desired positionson the screen. A blue position indicator highlightsthe area where the camera will be placed. Release themouse to lock a camera into place. The scale of thecamera is determined by the location it is placed on thescreen and the number of cameras in the view.5. Enter a name for the camera view in the Save As fieldand click Save.Renaming a ViewTo rename a view, perform the following steps:1. Click the Edit icon of the view you want to rename.2. Enter a new name and click Save.<strong>Ubiquiti</strong> <strong>Networks</strong>, Inc.15