warning - Docs.hvacpartners.com
warning - Docs.hvacpartners.com
warning - Docs.hvacpartners.com
Create successful ePaper yourself
Turn your PDF publications into a flip-book with our unique Google optimized e-Paper software.
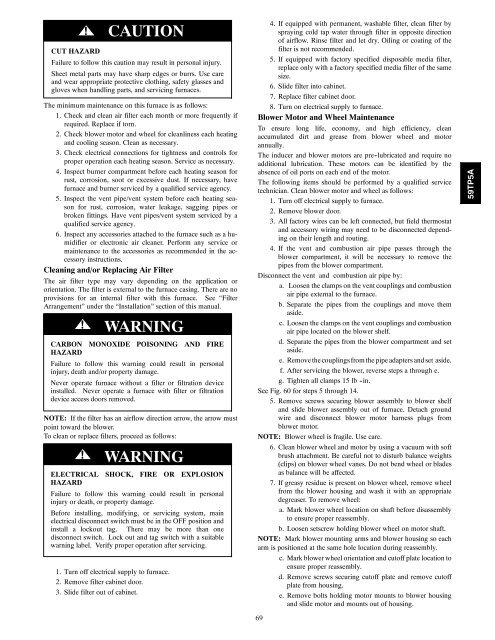
!CAUTIONCUT HAZARDFailure to follow this caution may result in personal injury.Sheet metal parts may have sharp edges or burrs. Use careand wear appropriate protective clothing, safety glasses andgloves when handling parts, and servicing furnaces.The minimum maintenance on this furnace is as follows:1. Check and clean air filter each month or more frequently ifrequired. Replace if torn.2. Check blower motor and wheel for cleanliness each heatingand cooling season. Clean as necessary.3. Check electrical connections for tightness and controls forproper operation each heating season. Service as necessary.4. Inspect burner <strong>com</strong>partment before each heating season forrust, corrosion, soot or excessive dust. If necessary, havefurnace and burner serviced by a qualified service agency.5. Inspect the vent pipe/vent system before each heating seasonfor rust, corrosion, water leakage, sagging pipes orbroken fittings. Have vent pipes/vent system serviced by aqualified service agency.6. Inspect any accessories attached to the furnace such as a humidifieror electronic air cleaner. Perform any service ormaintenance to the accessories as re<strong>com</strong>mended in the accessoryinstructions.Cleaning and/or Replacing Air FilterThe air filter type may vary depending on the application ororientation. The filter is external to the furnace casing. There are noprovisions for an internal filter with this furnace. See “FilterArrangement” under the “Installation” section of this manual.! WARNINGCARBON MONOXIDE POISONING AND FIREHAZARDFailure to follow this <strong>warning</strong> could result in personalinjury, death and/or property damage.Never operate furnace without a filter or filtration deviceinstalled. Never operate a furnace with filter or filtrationdevice access doors removed.NOTE: If the filter has an airflow direction arrow, the arrow mustpoint toward the blower.To clean or replace filters, proceed as follows:! WARNINGELECTRICAL SHOCK, FIRE OR EXPLOSIONHAZARDFailure to follow this <strong>warning</strong> could result in personalinjury or death, or property damage.Before installing, modifying, or servicing system, mainelectrical disconnect switch must be in the OFF position andinstall a lockout tag. There may be more than onedisconnect switch. Lock out and tag switch with a suitable<strong>warning</strong> label. Verify proper operation after servicing.1. Turn off electrical supply to furnace.2. Remove filter cabinet door.3. Slide filter out of cabinet.4. If equipped with permanent, washable filter, clean filter byspraying cold tap water through filter in opposite directionof airflow. Rinse filter and let dry. Oiling or coating of thefilter is not re<strong>com</strong>mended.5. If equipped with factory specified disposable media filter,replace only with a factory specified media filter of the samesize.6. Slide filter into cabinet.7. Replace filter cabinet door.8. Turn on electrical supply to furnace.Blower Motor and Wheel MaintenanceTo ensure long life, economy, and high efficiency, cleanaccumulated dirt and grease from blower wheel and motorannually.The inducer and blower motors are pre-lubricated and require noadditional lubrication. These motors can be identified by theabsence of oil ports on each end of the motor.The following items should be performed by a qualified servicetechnician. Clean blower motor and wheel as follows:1. Turn off electrical supply to furnace.2. Remove blower door.3. All factory wires can be left connected, but field thermostatand accessory wiring may need to be disconnected dependingon their length and routing.4. If the vent and <strong>com</strong>bustion air pipe passes through theblower <strong>com</strong>partment, it will be necessary to remove thepipes from the blower <strong>com</strong>partment.Disconnect the vent and <strong>com</strong>bustion air pipe by:a. Loosen the clamps on the vent couplings and <strong>com</strong>bustionair pipe external to the furnace.b. Separate the pipes from the couplings and move themaside.c. Loosen the clamps on the vent couplings and <strong>com</strong>bustionair pipe located on the blower shelf.d. Separate the pipes from the blower <strong>com</strong>partment and setaside.e. Removethecouplingsfrom the pipeadapters and set aside.f. After servicing the blower, reverse steps a through e.g. Tighten all clamps 15 lb -in.See Fig. 60 for steps 5 through 14.5. Remove screws securing blower assembly to blower shelfand slide blower assembly out of furnace. Detach groundwire and disconnect blower motor harness plugs fromblower motor.NOTE: Blower wheel is fragile. Use care.6. Clean blower wheel and motor by using a vacuum with softbrush attachment. Be careful not to disturb balance weights(clips) on blower wheel vanes. Do not bend wheel or bladesas balance will be affected.7. If greasy residue is present on blower wheel, remove wheelfrom the blower housing and wash it with an appropriatedegreaser. To remove wheel:a. Mark blower wheel location on shaft before disassemblyto ensure proper reassembly.b. Loosen setscrew holding blower wheel on motor shaft.NOTE: Mark blower mounting arms and blower housing so eacharm is positioned at the same hole location during reassembly.c. Mark blower wheel orientation and cutoff plate location toensure proper reassembly.d. Remove screws securing cutoff plate and remove cutoffplate from housing.e. Remove bolts holding motor mounts to blower housingand slide motor and mounts out of housing.6959TP5A


