warning - Docs.hvacpartners.com
warning - Docs.hvacpartners.com
warning - Docs.hvacpartners.com
You also want an ePaper? Increase the reach of your titles
YUMPU automatically turns print PDFs into web optimized ePapers that Google loves.
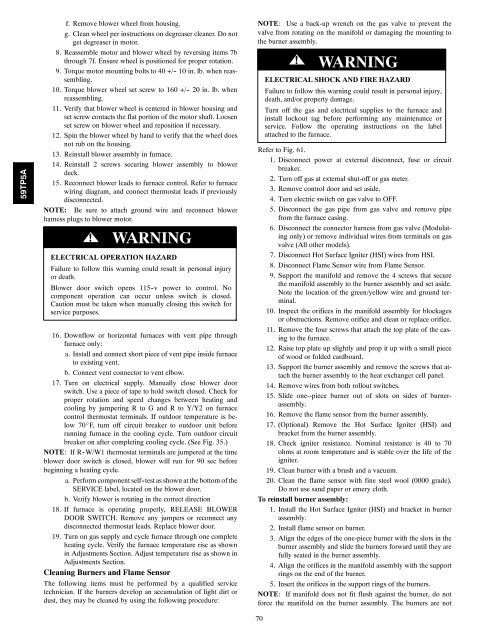
59TP5Af. Remove blower wheel from housing.g. Clean wheel per instructions on degreaser cleaner. Do notget degreaser in motor.8. Reassemble motor and blower wheel by reversing items 7bthrough 7f. Ensure wheel is positioned for proper rotation.9. Torque motor mounting bolts to 40 +/- 10 in. lb. when reassembling.10. Torque blower wheel set screw to 160 +/- 20 in. lb. whenreassembling.11. Verify that blower wheel is centered in blower housing andset screw contacts the flat portion of the motor shaft. Loosenset screw on blower wheel and reposition if necessary.12. Spin the blower wheel by hand to verify that the wheel doesnot rub on the housing.13. Reinstall blower assembly in furnace.14. Reinstall 2 screws securing blower assembly to blowerdeck.15. Reconnect blower leads to furnace control. Refer to furnacewiring diagram, and connect thermostat leads if previouslydisconnected.NOTE: Be sure to attach ground wire and reconnect blowerharness plugs to blower motor.! WARNINGELECTRICAL OPERATION HAZARDFailure to follow this <strong>warning</strong> could result in personal injuryor death.Blower door switch opens 115 -v power to control. No<strong>com</strong>ponent operation can occur unless switch is closed.Caution must be taken when manually closing this switch forservice purposes.16. Downflow or horizontal furnaces with vent pipe throughfurnace only:a. Install and connect short piece of vent pipe inside furnaceto existing vent.b. Connect vent connector to vent elbow.17. Turn on electrical supply. Manually close blower doorswitch. Use a piece of tape to hold switch closed. Check forproper rotation and speed changes between heating andcooling by jumpering R to G and R to Y/Y2 on furnacecontrol thermostat terminals. If outdoor temperature is below70_F, turn off circuit breaker to outdoor unit beforerunning furnace in the cooling cycle. Turn outdoor circuitbreaker on after <strong>com</strong>pleting cooling cycle. (See Fig. 35.)NOTE: If R -W/W1 thermostat terminals are jumpered at the timeblower door switch is closed, blower will run for 90 sec beforebeginning a heating cycle.a. Perform <strong>com</strong>ponent self-test as shown at the bottom of theSERVICE label, located on the blower door.b. Verify blower is rotating in the correct direction18. If furnace is operating properly, RELEASE BLOWERDOOR SWITCH. Remove any jumpers or reconnect anydisconnected thermostat leads. Replace blower door.19. Turn on gas supply and cycle furnace through one <strong>com</strong>pleteheating cycle. Verify the furnace temperature rise as shownin Adjustments Section. Adjust temperature rise as shown inAdjustments Section.Cleaning Burners and Flame SensorThe following items must be performed by a qualified servicetechnician. If the burners develop an accumulation of light dirt ordust, they may be cleaned by using the following procedure:NOTE: Use a back-up wrench on the gas valve to prevent thevalve from rotating on the manifold or damaging the mounting tothe burner assembly.70! WARNINGELECTRICAL SHOCK AND FIRE HAZARDFailure to follow this <strong>warning</strong> could result in personal injury,death, and/or property damage.Turn off the gas and electrical supplies to the furnace andinstall lockout tag before performing any maintenance orservice. Follow the operating instructions on the labelattached to the furnace.Refer to Fig. 61.1. Disconnect power at external disconnect, fuse or circuitbreaker.2. Turn off gas at external shut-off or gas meter.3. Remove control door and set aside.4. Turn electric switch on gas valve to OFF.5. Disconnect the gas pipe from gas valve and remove pipefrom the furnace casing.6. Disconnect the connector harness from gas valve (Modulatingonly) or remove individual wires from terminals on gasvalve (All other models).7. Disconnect Hot Surface Igniter (HSI) wires from HSI.8. Disconnect Flame Sensor wire from Flame Sensor.9. Support the manifold and remove the 4 screws that securethe manifold assembly to the burner assembly and set aside.Note the location of the green/yellow wire and ground terminal.10. Inspect the orifices in the manifold assembly for blockagesor obstructions. Remove orifice and clean or replace orifice.11. Remove the four screws that attach the top plate of the casingto the furnace.12. Raise top plate up slightly and prop it up with a small pieceof wood or folded cardboard.13. Support the burner assembly and remove the screws that attachthe burner assembly to the heat exchanger cell panel.14. Remove wires from both rollout switches.15. Slide one--piece burner out of slots on sides of burnerassembly.16. Remove the flame sensor from the burner assembly.17. (Optional) Remove the Hot Surface Igniter (HSI) andbracket from the burner assembly.18. Check igniter resistance. Nominal resistance is 40 to 70ohms at room temperature and is stable over the life of theigniter.19. Clean burner with a brush and a vacuum.20. Clean the flame sensor with fine steel wool (0000 grade).Do not use sand paper or emery cloth.To reinstall burner assembly:1. Install the Hot Surface Igniter (HSI) and bracket in burnerassembly.2. Install flame sensor on burner.3. Align the edges of the one-piece burner with the slots in theburner assembly and slide the burners forward until they arefully seated in the burner assembly.4. Align the orifices in the manifold assembly with the supportrings on the end of the burner.5. Insert the orifices in the support rings of the burners.NOTE: If manifold does not fit flush against the burner, do notforce the manifold on the burner assembly. The burners are not


