Watlow Series 922 User's Manual - Heaters Sensors Controls
Watlow Series 922 User's Manual - Heaters Sensors Controls
Watlow Series 922 User's Manual - Heaters Sensors Controls
Create successful ePaper yourself
Turn your PDF publications into a flip-book with our unique Google optimized e-Paper software.
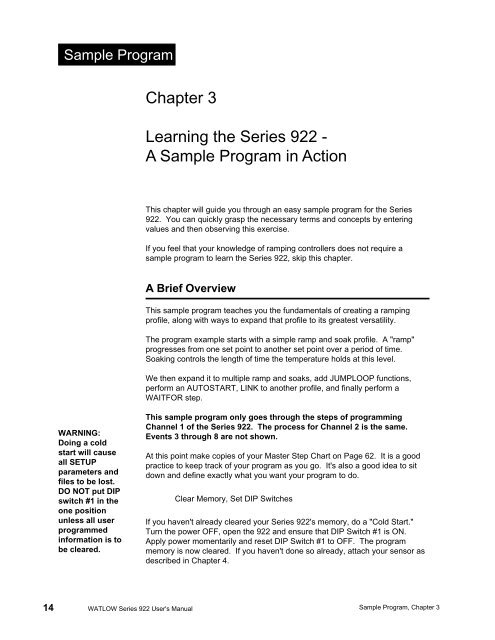
Sample ProgramChapter 3Learning the <strong>Series</strong> <strong>922</strong> -A Sample Program in ActionThis chapter will guide you through an easy sample program for the <strong>Series</strong><strong>922</strong>. You can quickly grasp the necessary terms and concepts by enteringvalues and then observing this exercise.If you feel that your knowledge of ramping controllers does not require asample program to learn the <strong>Series</strong> <strong>922</strong>, skip this chapter.A Brief OverviewThis sample program teaches you the fundamentals of creating a rampingprofile, along with ways to expand that profile to its greatest versatility.The program example starts with a simple ramp and soak profile. A "ramp"progresses from one set point to another set point over a period of time.Soaking controls the length of time the temperature holds at this level.We then expand it to multiple ramp and soaks, add JUMPLOOP functions,perform an AUTOSTART, LINK to another profile, and finally perform aWAITFOR step.WARNING:Doing a coldstart will causeall SETUPparameters andfiles to be lost.DO NOT put DIPswitch #1 in theone positionunless all userprogrammedinformation is tobe cleared.This sample program only goes through the steps of programmingChannel 1 of the <strong>Series</strong> <strong>922</strong>. The process for Channel 2 is the same.Events 3 through 8 are not shown.At this point make copies of your Master Step Chart on Page 62. It is a goodpractice to keep track of your program as you go. It's also a good idea to sitdown and define exactly what you want your program to do.Clear Memory, Set DIP SwitchesIf you haven't already cleared your <strong>Series</strong> <strong>922</strong>'s memory, do a "Cold Start."Turn the power OFF, open the <strong>922</strong> and ensure that DIP Switch #1 is ON.Apply power momentarily and reset DIP Switch #1 to OFF. The programmemory is now cleared. If you haven't done so already, attach your sensor asdescribed in Chapter 4.14 WATLOW <strong>Series</strong> <strong>922</strong> <strong>User's</strong> <strong>Manual</strong> Sample Program, Chapter 3


