Getting Started with vFabric Hyperic v.5.7 - VMware
Getting Started with vFabric Hyperic v.5.7 - VMware
Getting Started with vFabric Hyperic v.5.7 - VMware
Create successful ePaper yourself
Turn your PDF publications into a flip-book with our unique Google optimized e-Paper software.
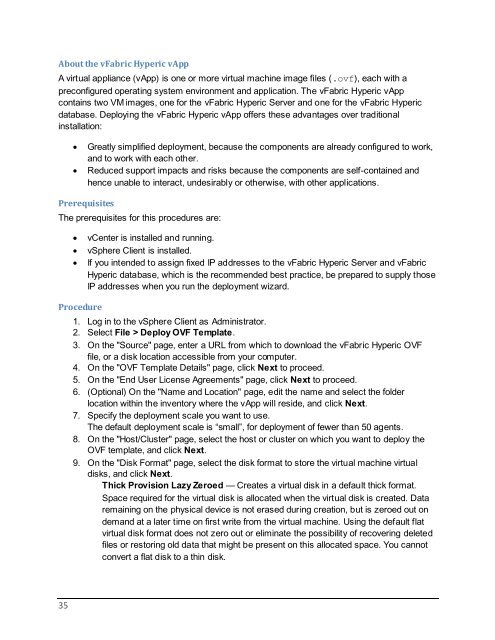
About the <strong>vFabric</strong> <strong>Hyperic</strong> vAppA virtual appliance (vApp) is one or more virtual machine image files (.ovf), each <strong>with</strong> apreconfigured operating system environment and application. The <strong>vFabric</strong> <strong>Hyperic</strong> vAppcontains two VM images, one for the <strong>vFabric</strong> <strong>Hyperic</strong> Server and one for the <strong>vFabric</strong> <strong>Hyperic</strong>database. Deploying the <strong>vFabric</strong> <strong>Hyperic</strong> vApp offers these advantages over traditionalinstallation:Greatly simplified deployment, because the components are already configured to work,and to work <strong>with</strong> each other.Reduced support impacts and risks because the components are self-contained andhence unable to interact, undesirably or otherwise, <strong>with</strong> other applications.PrerequisitesThe prerequisites for this procedures are:vCenter is installed and running.vSphere Client is installed.If you intended to assign fixed IP addresses to the <strong>vFabric</strong> <strong>Hyperic</strong> Server and <strong>vFabric</strong><strong>Hyperic</strong> database, which is the recommended best practice, be prepared to supply thoseIP addresses when you run the deployment wizard.Procedure1. Log in to the vSphere Client as Administrator.2. Select File > Deploy OVF Template.3. On the "Source" page, enter a URL from which to download the <strong>vFabric</strong> <strong>Hyperic</strong> OVFfile, or a disk location accessible from your computer.4. On the "OVF Template Details" page, click Next to proceed.5. On the "End User License Agreements" page, click Next to proceed.6. (Optional) On the "Name and Location" page, edit the name and select the folderlocation <strong>with</strong>in the inventory where the vApp will reside, and click Next.7. Specify the deployment scale you want to use.The default deployment scale is ―small‖, for deployment of fewer than 50 agents.8. On the "Host/Cluster" page, select the host or cluster on which you want to deploy theOVF template, and click Next.9. On the "Disk Format" page, select the disk format to store the virtual machine virtualdisks, and click Next.Thick Provision Lazy Zeroed — Creates a virtual disk in a default thick format.Space required for the virtual disk is allocated when the virtual disk is created. Dataremaining on the physical device is not erased during creation, but is zeroed out ondemand at a later time on first write from the virtual machine. Using the default flatvirtual disk format does not zero out or eliminate the possibility of recovering deletedfiles or restoring old data that might be present on this allocated space. You cannotconvert a flat disk to a thin disk.35


