VersaLASER® (VLS) User Guide VLS2.30, VLS3.50
VersaLASER® (VLS) User Guide VLS2.30, VLS3.50
VersaLASER® (VLS) User Guide VLS2.30, VLS3.50

You also want an ePaper? Increase the reach of your titles
YUMPU automatically turns print PDFs into web optimized ePapers that Google loves.
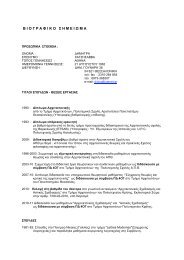
5. Open the top door and remove any packaging from inside the machine.<br />
6. Gently move the X-Axis arm (1) back and forth. It should slide freely.<br />
7. Bend and connect the short exhaust hose provided with the air filtration unit to the exhaust port on the<br />
back of the laser system and secure it with the provided hose clamps. Once the hose is attached, install<br />
the provided sheet metal cover over the exhaust hose.<br />
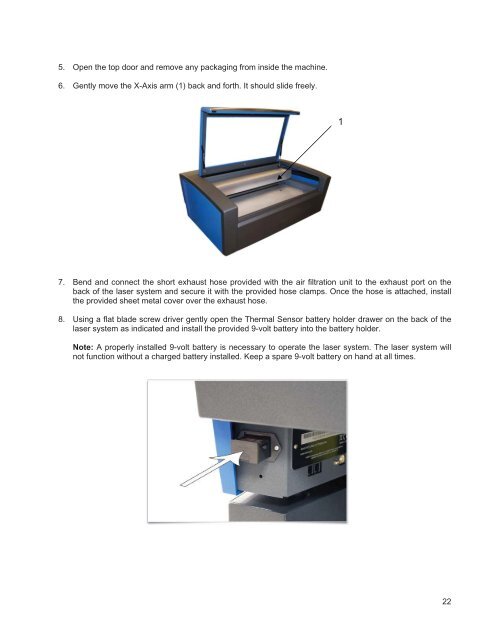
8. Using a flat blade screw driver gently open the Thermal Sensor battery holder drawer on the back of the<br />
laser system as indicated and install the provided 9-volt battery into the battery holder.<br />
Note: A properly installed 9-volt battery is necessary to operate the laser system. The laser system will<br />
not function without a charged battery installed. Keep a spare 9-volt battery on hand at all times.<br />
1<br />
22