Creating a Map with ArcMap - Tufts University
Creating a Map with ArcMap - Tufts University
Creating a Map with ArcMap - Tufts University

You also want an ePaper? Increase the reach of your titles
YUMPU automatically turns print PDFs into web optimized ePapers that Google loves.
This tutorial only shows the most basic functioning of Arc<strong>Map</strong>. For further information about Arc<strong>Map</strong>, go<br />
to Help-ArcGIS Desktop Help - Contents tab - Arc<strong>Map</strong>.<br />
A note about storing saved files from this tutorial or other work for your classes. The "map" files you will<br />
be saving in this tutorial and in most of your GIS work are very small files <strong>with</strong> pointers to the data sets.<br />
The mapfile does not contain the actual data, so if the data files are moved or deleted, your map file will<br />
not find them and thus not display them – this can be corrected using the data repair function which we<br />
will learn. As you work, you should save map files to your own file storage area.<br />
Part 1 - Opening Arc<strong>Map</strong> and adding data layers<br />
• To start Arc<strong>Map</strong>, choose Start-Programs-ArcGIS-Arc<strong>Map</strong> (or the equivalent on your<br />
computer). It will take a minute to start.<br />
• When the first dialog box comes up, make sure that you have selected to start <strong>with</strong> a new empty<br />
map and press OK.<br />
• If the Add Data dialog box comes up, press Cancel for now.<br />
• Choose View - Toolbars, and make sure that Main Menu, Standard, and Tools are visible.<br />
Uncheck all the other toolbars for now. Toolbars used and moved around in one session will<br />
appear the same way the next time a session is opened, so your initial view of Arc<strong>Map</strong> may differ<br />
depending on which computer you are using and how it was left by the last user.<br />
• On the left side of the screen, you should see your Table of Contents area - right now it should<br />
only say "Layers". If you do not see this separate area, choose Window - Table of Contents.<br />
Again, sometimes this gets turned off by a previous user.<br />
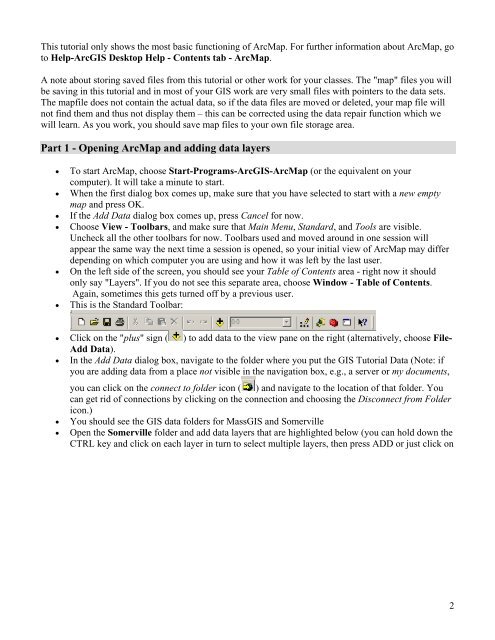
• This is the Standard Toolbar:<br />
• Click on the "plus" sign ( ) to add data to the view pane on the right (alternatively, choose File-<br />
Add Data).<br />
• In the Add Data dialog box, navigate to the folder where you put the GIS Tutorial Data (Note: if<br />
you are adding data from a place not visible in the navigation box, e.g., a server or my documents,<br />
you can click on the connect to folder icon ( ) and navigate to the location of that folder. You<br />
can get rid of connections by clicking on the connection and choosing the Disconnect from Folder<br />
icon.)<br />
• You should see the GIS data folders for MassGIS and Somerville<br />
• Open the Somerville folder and add data layers that are highlighted below (you can hold down the<br />
CTRL key and click on each layer in turn to select multiple layers, then press ADD or just click on<br />
2