Creating a Map with ArcMap - Tufts University
Creating a Map with ArcMap - Tufts University
Creating a Map with ArcMap - Tufts University

Create successful ePaper yourself
Turn your PDF publications into a flip-book with our unique Google optimized e-Paper software.
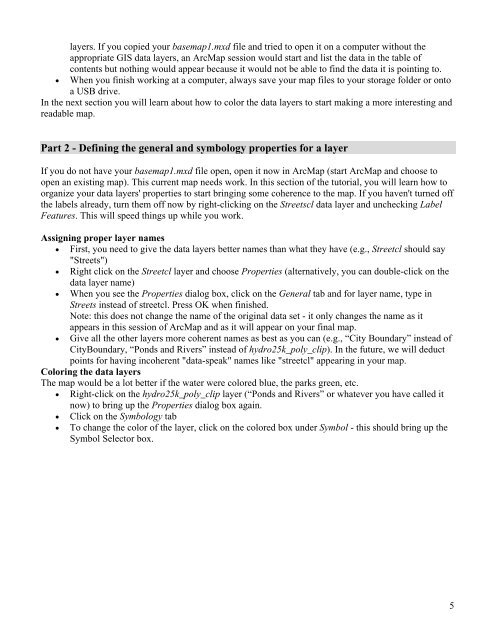
layers. If you copied your basemap1.mxd file and tried to open it on a computer <strong>with</strong>out the<br />
appropriate GIS data layers, an Arc<strong>Map</strong> session would start and list the data in the table of<br />
contents but nothing would appear because it would not be able to find the data it is pointing to.<br />
• When you finish working at a computer, always save your map files to your storage folder or onto<br />
a USB drive.<br />
In the next section you will learn about how to color the data layers to start making a more interesting and<br />
readable map.<br />
Part 2 - Defining the general and symbology properties for a layer<br />
If you do not have your basemap1.mxd file open, open it now in Arc<strong>Map</strong> (start Arc<strong>Map</strong> and choose to<br />
open an existing map). This current map needs work. In this section of the tutorial, you will learn how to<br />
organize your data layers' properties to start bringing some coherence to the map. If you haven't turned off<br />
the labels already, turn them off now by right-clicking on the Streetscl data layer and unchecking Label<br />
Features. This will speed things up while you work.<br />
Assigning proper layer names<br />
• First, you need to give the data layers better names than what they have (e.g., Streetcl should say<br />
"Streets")<br />
• Right click on the Streetcl layer and choose Properties (alternatively, you can double-click on the<br />
data layer name)<br />
• When you see the Properties dialog box, click on the General tab and for layer name, type in<br />
Streets instead of streetcl. Press OK when finished.<br />
Note: this does not change the name of the original data set - it only changes the name as it<br />
appears in this session of Arc<strong>Map</strong> and as it will appear on your final map.<br />
• Give all the other layers more coherent names as best as you can (e.g., “City Boundary” instead of<br />
CityBoundary, “Ponds and Rivers” instead of hydro25k_poly_clip). In the future, we will deduct<br />
points for having incoherent "data-speak" names like "streetcl" appearing in your map.<br />
Coloring the data layers<br />
The map would be a lot better if the water were colored blue, the parks green, etc.<br />
• Right-click on the hydro25k_poly_clip layer (“Ponds and Rivers” or whatever you have called it<br />
now) to bring up the Properties dialog box again.<br />
• Click on the Symbology tab<br />
• To change the color of the layer, click on the colored box under Symbol - this should bring up the<br />
Symbol Selector box.<br />
5