

FEMA P-499: Home Builder's Guide to Coastal Construction
FEMA P-499: Home Builder's Guide to Coastal Construction
FEMA P-499: Home Builder's Guide to Coastal Construction

You also want an ePaper? Increase the reach of your titles
YUMPU automatically turns print PDFs into web optimized ePapers that Google loves.
7<br />
ROOFING<br />
hole where the standpipe is installed. This will be<br />
easiest if the standpipe is larger than the hole and<br />
the cover can be attached <strong>to</strong> the sheathing in an area<br />
where the fasteners cannot be driven through the<br />
roof cover. Otherwise, it will be important <strong>to</strong> ensure<br />
that the fasteners are short enough that they will not<br />
extend through the roof sheathing and damage the<br />
roof cover.<br />
If the edge of the hole in the roof deck is flush with<br />
the inside edge of the standpipe, it may be possible<br />
<strong>to</strong> install metal straps that are screwed in<strong>to</strong> the walls<br />
of the standpipe and attached with short screws <strong>to</strong><br />
the bot<strong>to</strong>m surface of the roof sheathing. Again, it<br />
is critical <strong>to</strong> use screws that are short enough that<br />
they will not extend through the roof sheathing and<br />
damage the roof cover. The strapping should be<br />
connected <strong>to</strong> the walls of the standpipe with short<br />
stainless steel sheet metal screws.<br />
Beyond any remedial measures taken <strong>to</strong> anchor the<br />
standpipe <strong>to</strong> the roof sheathing or <strong>to</strong> plug the hole<br />
from the attic side, it is also important <strong>to</strong> try and<br />
seal the standpipe from the outside so that water<br />
does not build up in the pipe and leak in<strong>to</strong> the roof<br />
sheathing around the hole. The best approach is <strong>to</strong><br />
have a qualified person remove the <strong>to</strong>p active portion<br />
of the turbine vent before the s<strong>to</strong>rm and plug the<br />
hole at the <strong>to</strong>p of the standpipe. A wooden plug can<br />
be used that covers the entire hole and has blocks<br />
that rest against the walls of the standpipe where<br />
screws can be installed <strong>to</strong> anchor the plug <strong>to</strong> the<br />
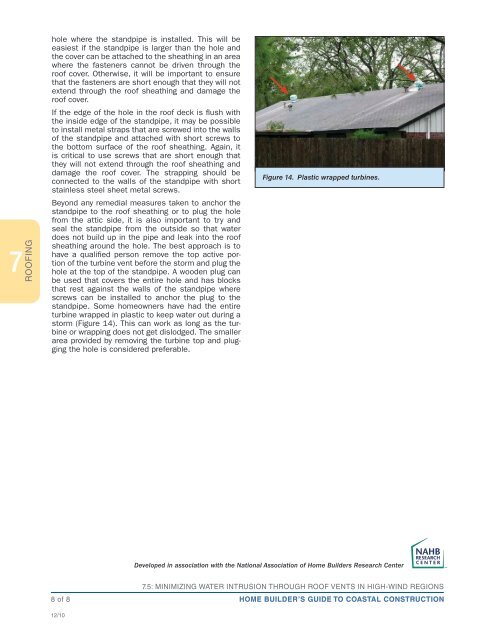
standpipe. Some homeowners have had the entire<br />
turbine wrapped in plastic <strong>to</strong> keep water out during a<br />
s<strong>to</strong>rm (Figure 14). This can work as long as the turbine<br />
or wrapping does not get dislodged. The smaller<br />
area provided by removing the turbine <strong>to</strong>p and plugging<br />
the hole is considered preferable.<br />
8 of 8<br />
12/10<br />
Figure 14. Plastic wrapped turbines.<br />
Developed in association with the National Association of <strong>Home</strong> Builders Research Center<br />
7.5: MINIMIZING WATER INTRUSION THROUGH ROOF VENTS IN HIGH-WIND REGIONS<br />
HOME BUILDER’S GUIDE TO COASTAL CONSTRUCTION