SERVICE SPECIFICATIONS
SERVICE SPECIFICATIONS
SERVICE SPECIFICATIONS

Create successful ePaper yourself
Turn your PDF publications into a flip-book with our unique Google optimized e-Paper software.
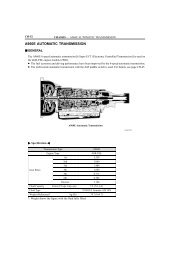
A46DF AUTOMATIC TRANSMISSION - REAR CLUTCH (A46DF)<br />
AT4884<br />
AT6292<br />
Pri nted<br />
Number<br />
AT6243<br />
AT4828<br />
Q00426<br />
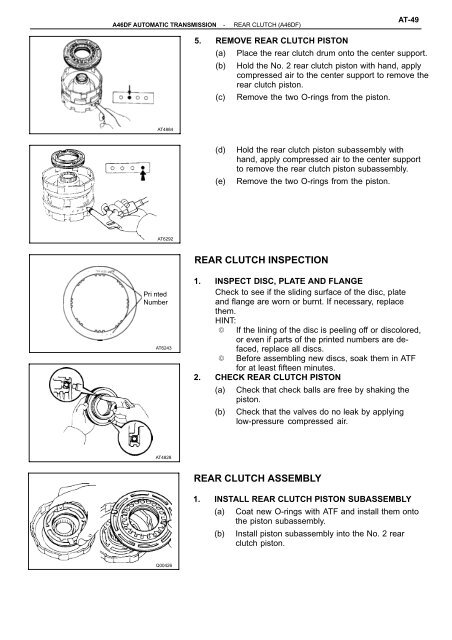
5. REMOVE REAR CLUTCH PISTON<br />
(a) Place the rear clutch drum onto the center support.<br />
(b) Hold the No. 2 rear clutch piston with hand, apply<br />
compressed air to the center support to remove the<br />
rear clutch piston.<br />
(c) Remove the two O-rings from the piston.<br />
(d) Hold the rear clutch piston subassembly with<br />
hand, apply compressed air to the center support<br />
to remove the rear clutch piston subassembly.<br />
(e) Remove the two O-rings from the piston.<br />
REAR CLUTCH INSPECTION<br />
1. INSPECT DISC, PLATE AND FLANGE<br />
Check to see if the sliding surface of the disc, plate<br />
and flange are worn or burnt. If necessary, replace<br />
them.<br />
HINT:<br />
If the lining of the disc is peeling off or discolored,<br />
or even if parts of the printed numbers are defaced,<br />
replace all discs.<br />
Before assembling new discs, soak them in ATF<br />
for at least fifteen minutes.<br />
2. CHECK REAR CLUTCH PISTON<br />
(a) Check that check balls are free by shaking the<br />
piston.<br />
(b) Check that the valves do no leak by applying<br />
low-pressure compressed air.<br />
REAR CLUTCH ASSEMBLY<br />
AT-49<br />
1. INSTALL REAR CLUTCH PISTON SUBASSEMBLY<br />
(a) Coat new O-rings with ATF and install them onto<br />
the piston subassembly.<br />
(b) Install piston subassembly into the No. 2 rear<br />
clutch piston.