Installation Guide - Eset
Installation Guide - Eset
Installation Guide - Eset
You also want an ePaper? Increase the reach of your titles
YUMPU automatically turns print PDFs into web optimized ePapers that Google loves.
Administration <strong>Installation</strong> <strong>Guide</strong><br />
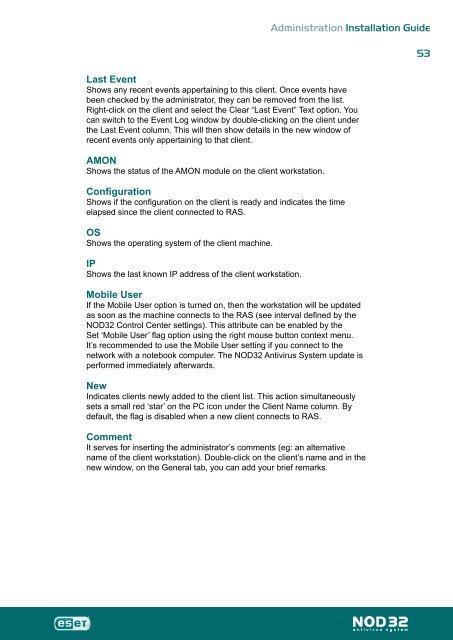
Last Event<br />
Shows any recent events appertaining to this client. Once events have<br />
been checked by the administrator, they can be removed from the list.<br />
Right-click on the client and select the Clear “Last Event” Text option. You<br />
can switch to the Event Log window by double-clicking on the client under<br />
the Last Event column. This will then show details in the new window of<br />
recent events only appertaining to that client.<br />
AMON<br />
Shows the status of the AMON module on the client workstation.<br />
Configuration<br />
Shows if the configuration on the client is ready and indicates the time<br />
elapsed since the client connected to RAS.<br />
OS<br />
Shows the operating system of the client machine.<br />
IP<br />
Shows the last known IP address of the client workstation.<br />
Mobile User<br />
If the Mobile User option is turned on, then the workstation will be updated<br />
as soon as the machine connects to the RAS (see interval defined by the<br />
NOD32 Control Center settings). This attribute can be enabled by the<br />
Set ‘Mobile User’ flag option using the right mouse button context menu.<br />
It’s recommended to use the Mobile User setting if you connect to the<br />
network with a notebook computer. The NOD32 Antivirus System update is<br />
performed immediately afterwards.<br />
New<br />
Indicates clients newly added to the client list. This action simultaneously<br />
sets a small red ‘star’ on the PC icon under the Client Name column. By<br />
default, the flag is disabled when a new client connects to RAS.<br />
Comment<br />
It serves for inserting the administrator’s comments (eg: an alternative<br />
name of the client workstation). Double-click on the client’s name and in the<br />
new window, on the General tab, you can add your brief remarks.<br />
5


