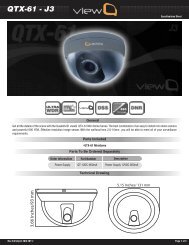
QT-400-4N Manual
QT-400-4N Manual
QT-400-4N Manual

Create successful ePaper yourself
Turn your PDF publications into a flip-book with our unique Google optimized e-Paper software.
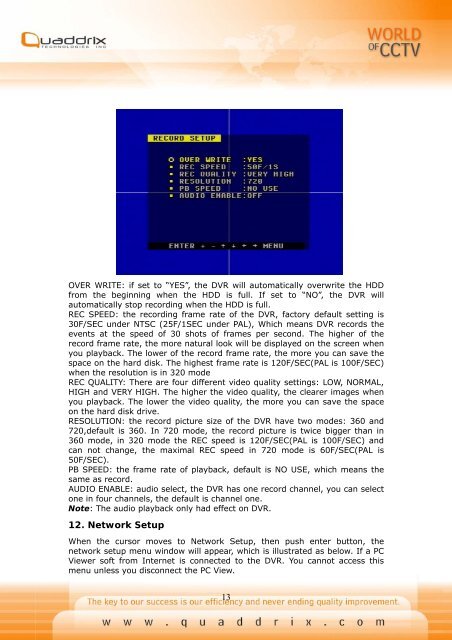
OVER WRITE: if set to “YES”, the DVR will automatically overwrite the HDD<br />
from the beginning when the HDD is full. If set to “NO”, the DVR will<br />
automatically stop recording when the HDD is full.<br />
REC SPEED: the recording frame rate of the DVR, factory default setting is<br />
30F/SEC under NTSC (25F/1SEC under PAL), Which means DVR records the<br />
events at the speed of 30 shots of frames per second. The higher of the<br />
record frame rate, the more natural look will be displayed on the screen when<br />
you playback. The lower of the record frame rate, the more you can save the<br />
space on the hard disk. The highest frame rate is 120F/SEC(PAL is 100F/SEC)<br />
when the resolution is in 320 mode<br />
REC QUALITY: There are four different video quality settings: LOW, NORMAL,<br />
HIGH and VERY HIGH. The higher the video quality, the clearer images when<br />
you playback. The lower the video quality, the more you can save the space<br />
on the hard disk drive.<br />
RESOLUTION: the record picture size of the DVR have two modes: 360 and<br />
720,default is 360. In 720 mode, the record picture is twice bigger than in<br />
360 mode, in 320 mode the REC speed is 120F/SEC(PAL is 100F/SEC) and<br />
can not change, the maximal REC speed in 720 mode is 60F/SEC(PAL is<br />
50F/SEC).<br />
PB SPEED: the frame rate of playback, default is NO USE, which means the<br />
same as record.<br />
AUDIO ENABLE: audio select, the DVR has one record channel, you can select<br />
one in four channels, the default is channel one.<br />
Note: The audio playback only had effect on DVR.<br />
12. Network Setup<br />
When the cursor moves to Network Setup, then push enter button, the<br />
network setup menu window will appear, which is illustrated as below. If a PC<br />
Viewer soft from Internet is connected to the DVR. You cannot access this<br />
menu unless you disconnect the PC View.<br />
13