WL76* Digital Series YL76* Digital Series - Toshiba-OM.net
WL76* Digital Series YL76* Digital Series - Toshiba-OM.net
WL76* Digital Series YL76* Digital Series - Toshiba-OM.net

Create successful ePaper yourself
Turn your PDF publications into a flip-book with our unique Google optimized e-Paper software.
CONTROLS AND FEATURES<br />
To display the device information<br />
a<br />
b<br />
Press QUICK to open the Quick Menu in list mode.<br />
Press B or b to select Device Information.<br />
NOTE: When the music files on the USB device are used, or the<br />
TV is used as a DMR, this feature is not available.<br />
To display the file status information<br />
Using the Photo Frame<br />
feature<br />
You can use the TV screen as a digital photo frame. One image<br />
(pre-installed or user-installed) can be displayed. Date info<br />
can also be superimposed, if desired.<br />
You can overwrite the photo file with a file from a USB storage<br />
device or DLNA CERTIFIED Server.<br />
English<br />
a Press during playback. The information will be<br />
displayed on the bottom of the screen.<br />
b Press again to remove the information.<br />
NOTE: The information may not be correctly displayed<br />
depending on the content, DMC or DMS.<br />
To close the Music Player:<br />
a<br />
Press EXIT.<br />
Open from Menu<br />
a<br />
b<br />
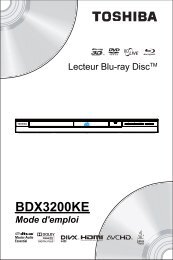
To open Photo Frame<br />
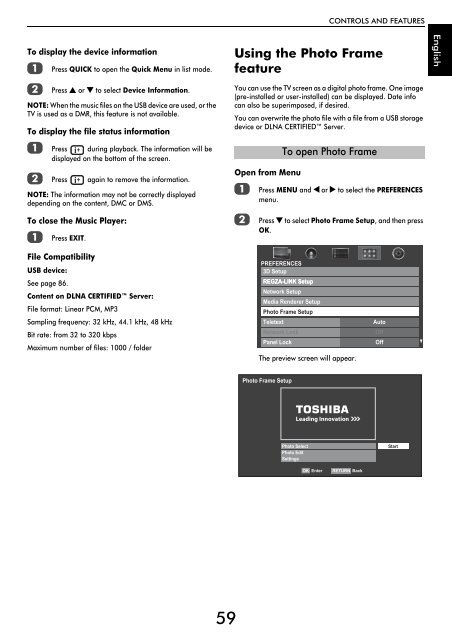
Press MENU and C or c to select the PREFERENCES<br />
menu.<br />
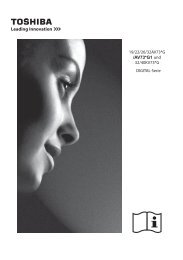
Press b to select Photo Frame Setup, and then press<br />
OK.<br />
File Compatibility<br />
USB device:<br />
See page 86.<br />
Content on DLNA CERTIFIED Server:<br />
File format: Linear PCM, MP3<br />
Sampling frequency: 32 kHz, 44.1 kHz, 48 kHz<br />
Bit rate: from 32 to 320 kbps<br />
Maximum number of files: 1000 / folder<br />
PREFERENCES<br />
3D Setup<br />
REGZA-LINK Setup<br />
Network Setup<br />
Media Renderer Setup<br />
Photo Frame Setup<br />
Teletext<br />
Network Lock<br />
Panel Lock<br />
The preview screen will appear.<br />
Auto<br />
Off<br />
Off<br />
Photo Frame Setup<br />
Photo Select<br />
Photo Edit<br />
Settings<br />
Start<br />
OK Enter<br />
RETURN Back<br />
59