WL76* Digital Series YL76* Digital Series - Toshiba-OM.net
WL76* Digital Series YL76* Digital Series - Toshiba-OM.net
WL76* Digital Series YL76* Digital Series - Toshiba-OM.net

You also want an ePaper? Increase the reach of your titles
YUMPU automatically turns print PDFs into web optimized ePapers that Google loves.
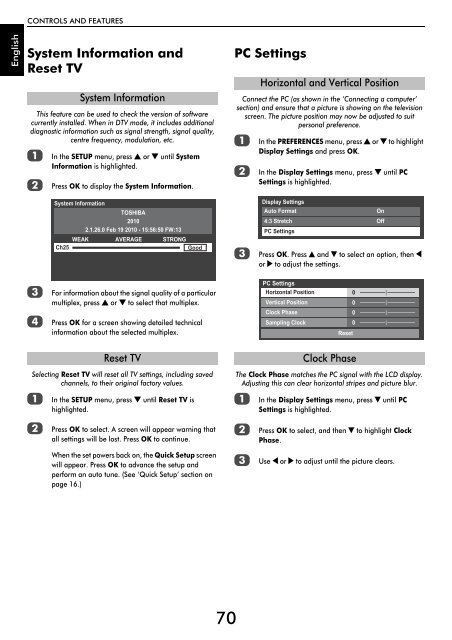
CONTROLS AND FEATURES<br />
English<br />
System Information and<br />
Reset TV<br />
This feature can be used to check the version of software<br />
currently installed. When in DTV mode, it includes additional<br />
diagnostic information such as signal strength, signal quality,<br />
centre frequency, modulation, etc.<br />
a<br />
b<br />
System Information<br />
In the SETUP menu, press B or b until System<br />
Information is highlighted.<br />
Press OK to display the System Information.<br />
PC Settings<br />
Connect the PC (as shown in the ‘Connecting a computer’<br />
section) and ensure that a picture is showing on the television<br />
screen. The picture position may now be adjusted to suit<br />
personal preference.<br />
a<br />
b<br />
Horizontal and Vertical Position<br />
In the PREFERENCES menu, press B or b to highlight<br />
Display Settings and press OK.<br />
In the Display Settings menu, press b until PC<br />
Settings is highlighted.<br />
System Information<br />
TOSHIBA<br />
2010<br />
2.1.26.0 Feb 19 2010 - 15:56:50 FW:13<br />
WEAK AVERAGE STRONG<br />
Ch25<br />
Good<br />
c<br />
Display Settings<br />
Auto Format<br />
On<br />
4:3 Stretch Off<br />
PC Settings<br />
Press OK. Press B and b to select an option, then C<br />
or c to adjust the settings.<br />
c<br />
For information about the signal quality of a particular<br />
multiplex, press B or b to select that multiplex.<br />
PC Settings<br />
Horizontal Position<br />
Vertical Position<br />
0<br />
0<br />
d<br />
Press OK for a screen showing detailed technical<br />
information about the selected multiplex.<br />
Clock Phase<br />
Sampling Clock<br />
0<br />
0<br />
Reset<br />
Selecting Reset TV will reset all TV settings, including saved<br />
channels, to their original factory values.<br />
a<br />
Reset TV<br />
In the SETUP menu, press b until Reset TV is<br />
highlighted.<br />
The Clock Phase matches the PC signal with the LCD display.<br />
Adjusting this can clear horizontal stripes and picture blur.<br />
a<br />
Clock Phase<br />
In the Display Settings menu, press b until PC<br />
Settings is highlighted.<br />
b<br />
Press OK to select. A screen will appear warning that<br />
all settings will be lost. Press OK to continue.<br />
b<br />
Press OK to select, and then b to highlight Clock<br />
Phase.<br />
When the set powers back on, the Quick Setup screen<br />
will appear. Press OK to advance the setup and<br />
perform an auto tune. (See ‘Quick Setup’ section on<br />
page 16.)<br />
c<br />
Use C or c to adjust until the picture clears.<br />
70