

Alesis DM10 Manual - American Musical Supply
Alesis DM10 Manual - American Musical Supply
Alesis DM10 Manual - American Musical Supply

You also want an ePaper? Increase the reach of your titles
YUMPU automatically turns print PDFs into web optimized ePapers that Google loves.
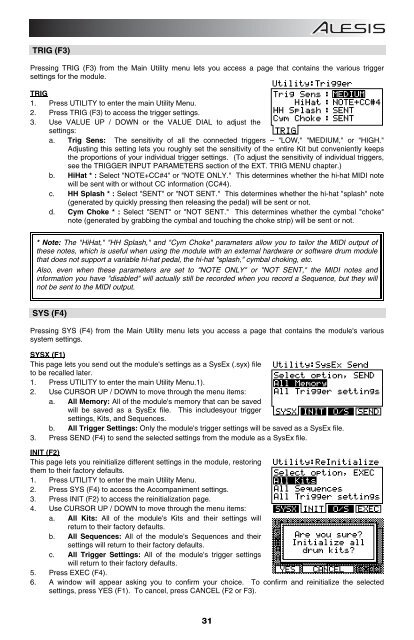
TRIG (F3)<br />
Pressing TRIG (F3) from the Main Utility menu lets you access a page that contains the various trigger<br />
settings for the module.<br />
TRIG<br />
1. Press UTILITY to enter the main Utility Menu.<br />
2. Press TRIG (F3) to access the trigger settings.<br />
3. Use VALUE UP / DOWN or the VALUE DIAL to adjust the<br />
settings:<br />
a. Trig Sens: The sensitivity of all the connected triggers – "LOW," "MEDIUM," or "HIGH."<br />
Adjusting this setting lets you roughly set the sensitivity of the entire Kit but conveniently keeps<br />
the proportions of your individual trigger settings. (To adjust the sensitivity of individual triggers,<br />
see the TRIGGER INPUT PARAMETERS section of the EXT. TRIG MENU chapter.)<br />
b. HiHat * : Select "NOTE+CC#4" or "NOTE ONLY." This determines whether the hi-hat MIDI note<br />
will be sent with or without CC information (CC#4).<br />
c. HH Splash * : Select "SENT" or "NOT SENT." This determines whether the hi-hat "splash" note<br />
(generated by quickly pressing then releasing the pedal) will be sent or not.<br />
d. Cym Choke * : Select "SENT" or "NOT SENT." This determines whether the cymbal "choke"<br />
note (generated by grabbing the cymbal and touching the choke strip) will be sent or not.<br />
* Note: The "HiHat," "HH Splash," and "Cym Choke" parameters allow you to tailor the MIDI output of<br />
these notes, which is useful when using the module with an external hardware or software drum module<br />
that does not support a variable hi-hat pedal, the hi-hat "splash," cymbal choking, etc.<br />
Also, even when these parameters are set to "NOTE ONLY" or "NOT SENT," the MIDI notes and<br />
information you have "disabled" will actually still be recorded when you record a Sequence, but they will<br />
not be sent to the MIDI output.<br />
SYS (F4)<br />
Pressing SYS (F4) from the Main Utility menu lets you access a page that contains the module's various<br />
system settings.<br />
SYSX (F1)<br />
This page lets you send out the module's settings as a SysEx (.syx) file<br />
to be recalled later.<br />
1. Press UTILITY to enter the main Utility Menu.1).<br />
2. Use CURSOR UP / DOWN to move through the menu items:<br />
a. All Memory: All of the module's memory that can be saved<br />
will be saved as a SysEx file. This includesyour trigger<br />
settings, Kits, and Sequences.<br />
b. All Trigger Settings: Only the module's trigger settings will be saved as a SysEx file.<br />
3. Press SEND (F4) to send the selected settings from the module as a SysEx file.<br />
INIT (F2)<br />
This page lets you reinitialize different settings in the module, restoring<br />
them to their factory defaults.<br />
1. Press UTILITY to enter the main Utility Menu.<br />
2. Press SYS (F4) to access the Accompaniment settings.<br />
3. Press INIT (F2) to access the reinitialization page.<br />
4. Use CURSOR UP / DOWN to move through the menu items:<br />
a. All Kits: All of the module's Kits and their settings will<br />
return to their factory defaults.<br />
b. All Sequences: All of the module's Sequences and their<br />
settings will return to their factory defaults.<br />
c. All Trigger Settings: All of the module's trigger settings<br />
will return to their factory defaults.<br />
5. Press EXEC (F4).<br />
6. A window will appear asking you to confirm your choice. To confirm and reinitialize the selected<br />
settings, press YES (F1). To cancel, press CANCEL (F2 or F3).<br />
31


